We’re slowly but surely progressing towards painting the living room that I triumphantly pulled apart back in July. It’s been slow going, because any cut corners would just annoy me when it’s all finished. That’s why I spent weeks stripping all the paint off the cornice, and why we both suffered through stripping the paint from all the woodwork to get a nice crisp finish when it’s done.
So it was with some trepidation that I started patching the plaster which was damaged during the electrical work. Plastering has such a reputation for being a difficult skill, it really made me worried about doing it. I had a couple of plasterers come to quote, both of whom said it wouldn’t be the most economical job, and one who even gave me a whole load of tips for how to do it myself!
The room has lime plaster, from (I think) 1934, based on the signatures of tradesmen we found under the wallpaper.
The plaster is mostly in good condition- at least, it seems that way now. Ask me again after I start filling the damaged bits in. I chose to stick with the same sort of plaster to make sure there is a consistent finish and it doesn’t show after painting, so that was the first bit of that kind plasterer’s advice out the window (he said to use bonding).
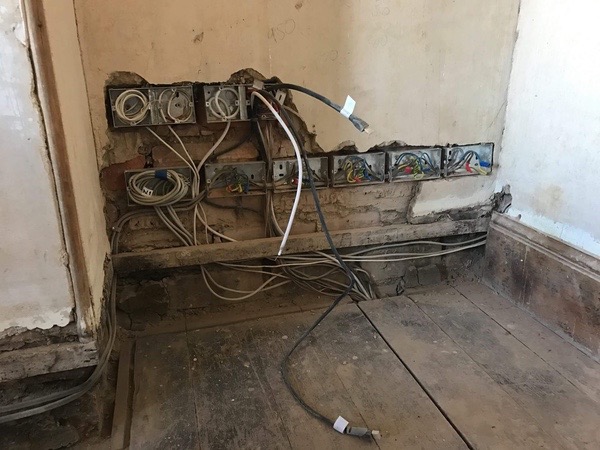
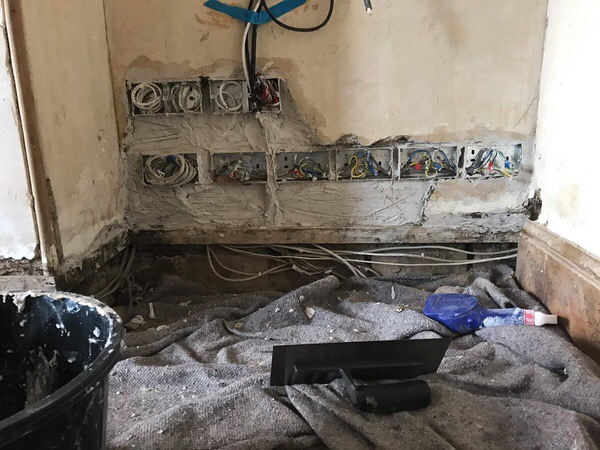
Lime is pretty notorious for being difficult to work with, long drying and setting times (they are different things!) and all in all not being a material for a beginner. What could go wrong! I suited up with gloves and goggles (lime is nasty stuff) and set to it with my hawk and trowels. Here’s the wall ready to go:
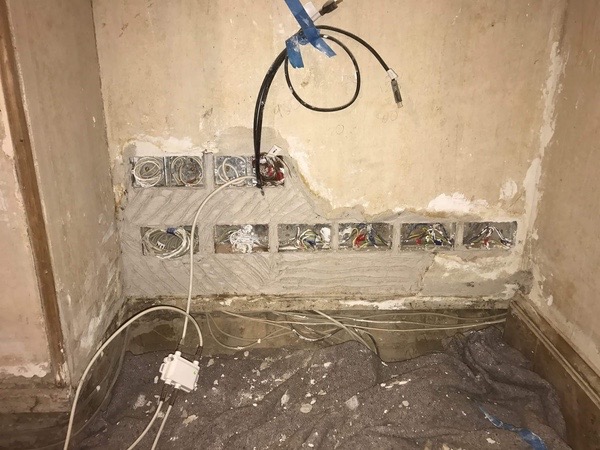
The scratch coat comes first, and I was careful not to make it too deep. It took me a little while just to work out how to get the stuff on the wall without dropping it, to be honest, but I figured out that using the hawk close to the wall and the float to really push it on well, was a good way to get the job done. I put a bit of a key in to it for the next coat to cling on to, then left it to dry.
I only gave it 24 hours or so – there were a few cracks but I just pushed them closed. I might not have wetted down sufficiently, which would mean that the wall could have soaked too much moisture from the plaster. Anyway, I put another scratch coat on top to give it some more depth to get closer to matching the 25mm thick plaster around the rest of the room.
Another day, another coat. Not so many cracks this time either, so I went for about 2mm below the level of the surrounding plaster with a smooth finish, to practice for the next, and final coat.
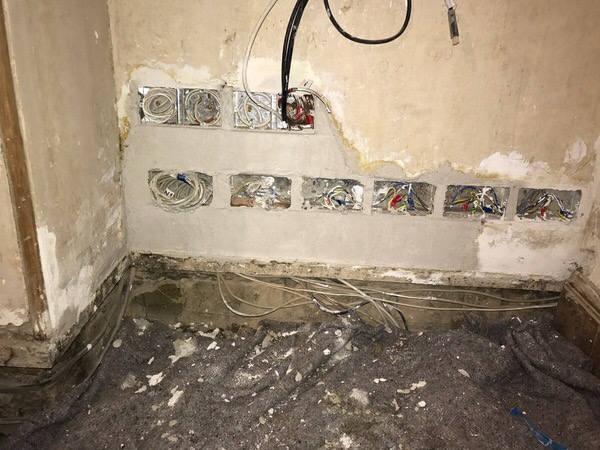
This one went pretty well, and came up smooth, but after a couple of days, started to develop some cracks. I just pushed these closed with my thumb and a tiny trowel, which seems to have worked, but more wetting down before the final coat will be needed. So, I’m going to let it set a bit more before the final coat. The setting process for lime plaster is a carbonation reaction, and it can take literally years to complete. Obviously you don’t wait that long to paint, but time is important, and so is water, ironically. If it dries out too quickly, it won’t ever become really hard, so I’ve been misting it with water to keep everything ticking along.
There are a few more patches to do around the room, so this weekend the plan is to get them all to this stage, then do the top coats all at the same time, next week.
Worst case scenario, we have to lining paper the room. It’s not the end of the world, really!
Great work – lovely plastering, Josh : admire your thoroughness and patience with it – which is the only way for a good finish that you will never have to do again – not in that particular corner anyway !
Now I know you will have pulled the breakers on all of them, but all that moistening and misting around the electrics is a bit worrying !
The 1934 paperers’ graffiti under the anaglypta are fascinating too !
Looking forward to the next instalment …
Thanks Dad.
No power running to these while I’m working on them. It is still a bit worrying but since I’ve been misting it more I’ve not had any cracks show up, so it’s been good.
I did a bunch more over the weekend, so it’s just the top coat left for all the sockets and over the fireplace.