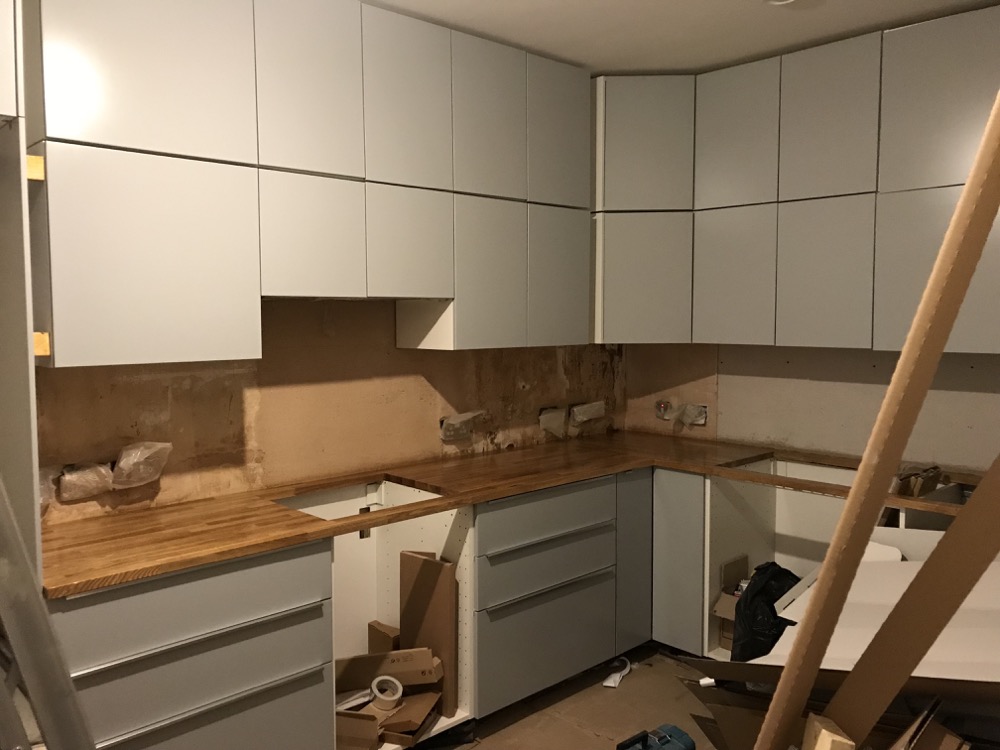
With all the cabinets built, fitted, and levelled, the next thing was to tackle the work top. We were on quite a tight budget at this point, and actually hadn’t worked out exactly what we wanted (top tip: decide on a worktop ahead of time) so were limited to worktops which would fit IKEA cabinets, and which could be cut and delivered very quickly.
We did at least know that we wanted solid wood rather than laminate or stone (well, stone would have been lovely but it’s very expensive.) I’d not realised that IKEA’s base cabinets are not only deeper because they don’t have a service void at the back, they also come further out from the wall than standard UK cabinets. The standard depth for worktops in the UK is 620mm, intended to give a 20mm overhang, but to get that same overhang on IKEA cabinets, you need at least 635mm deep worktops.


I didn’t want it to be too thick; I’d had to put the base units a little higher than I intended to, as there was a row of mortar at the level we needed to fix the rail to the wall, so I installed them slightly higher when I realised I could get a thinner worktop to compensate. We have a simple L shaped layout, but both lengths would have had to be the longer 246cm worktop that IKEA sell, which wasn’t in stock for a couple of weeks anyway.
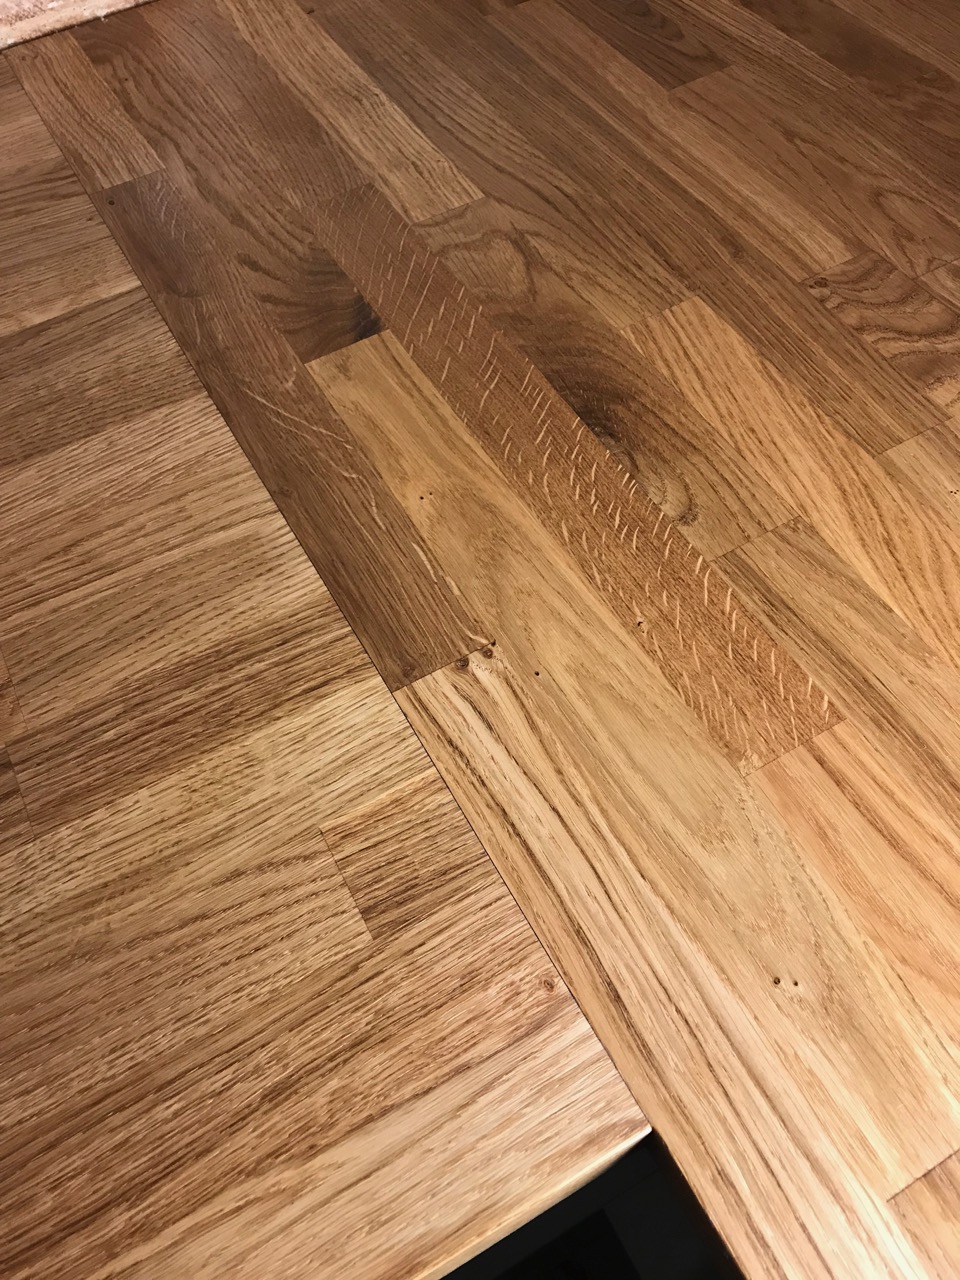
Armed with our various constraints I went hunting for a deeper worktop in oak, not too thick, and came up with Worktop Express. 2 lengths of 3m x 720mm x 27mm worktop arrived the next day, and I got to work oiling and turning them – they only just fit in the room all together! Only thing that would improve their service, is if they offered sizes which fit IKEA worktops out of the box… and maybe brought the wood upstairs.
I was very tempted to try to fit them myself, but it seemed like one of those jobs that could have easily ended up in an expensive mistake, and even if it didn’t it wouldn’t be as good as the pros could do it, so we called Hamish in. His two guys did a great job, doing the cut outs for the sink and hob, and trimming them down to the right depth. They even tweaked my levelling of the base units to get everything absolutely bang on… and the resulting join is barely visible, so it felt like money well spent.
Fitting the fronts and drawers was a quick, satisfying job, even though we had a lot of them. I forgot to take any progress shots but Jennie and I put together all the drawers and hung the doors over the course of about half a day.
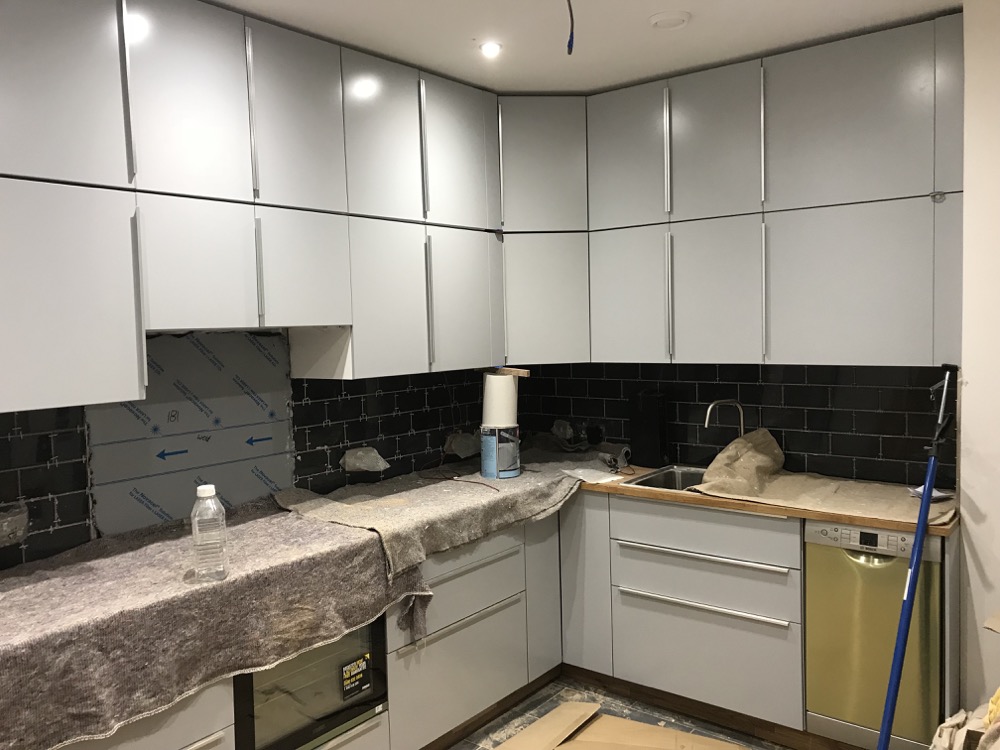
Finally, I got to work tiling the backdrop with the dark grey subway tiles we’d found. Just a traditional brick pattern, but we like the contrast with the white grout. This felt so easy after having tiled the floor, I used premixed adhesive which saved some time, and there weren’t too many cuts to make. A scoring cutter would have helped, I was using the wet saw that I’d used for the floor and had a few more breakages than I’d expected with the ceramic tiles, but it wasn’t too much worse.
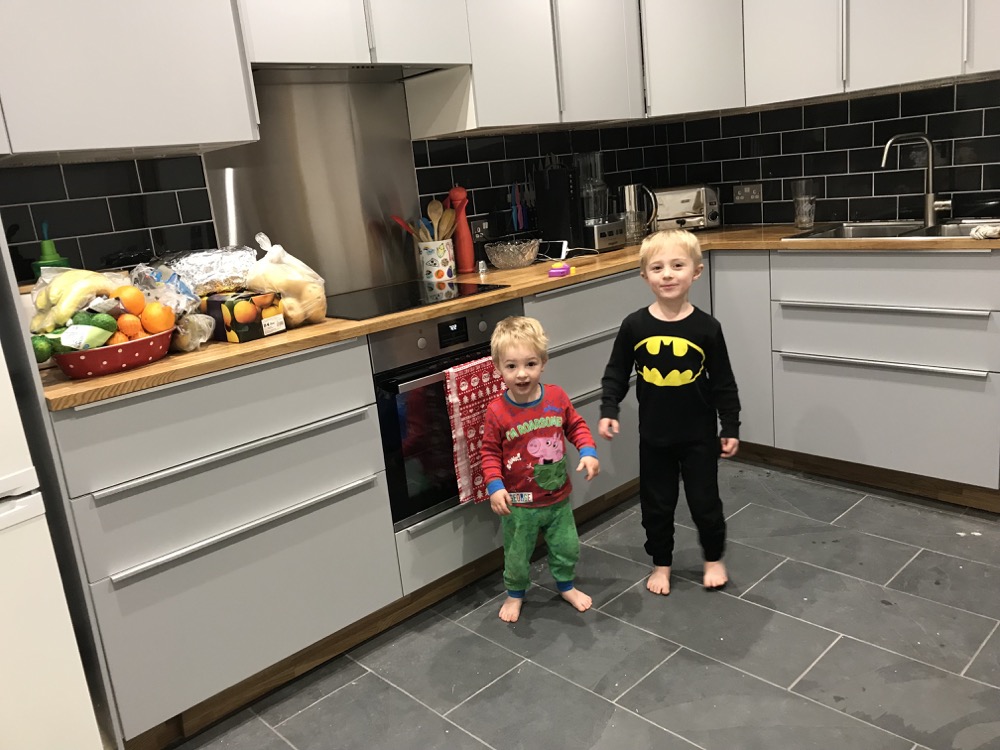
This was enough for us to move everything in to the kitchen in time for Christmas, and Jennie and I have gradually been working through the remaining jobs since then, we’re all pretty happy with it though!
We had a few offcuts from the worktop, which make some nice plinths underneath the cabinets… and I still have a few more offcuts which will (eventually) make some nice chopping boards!