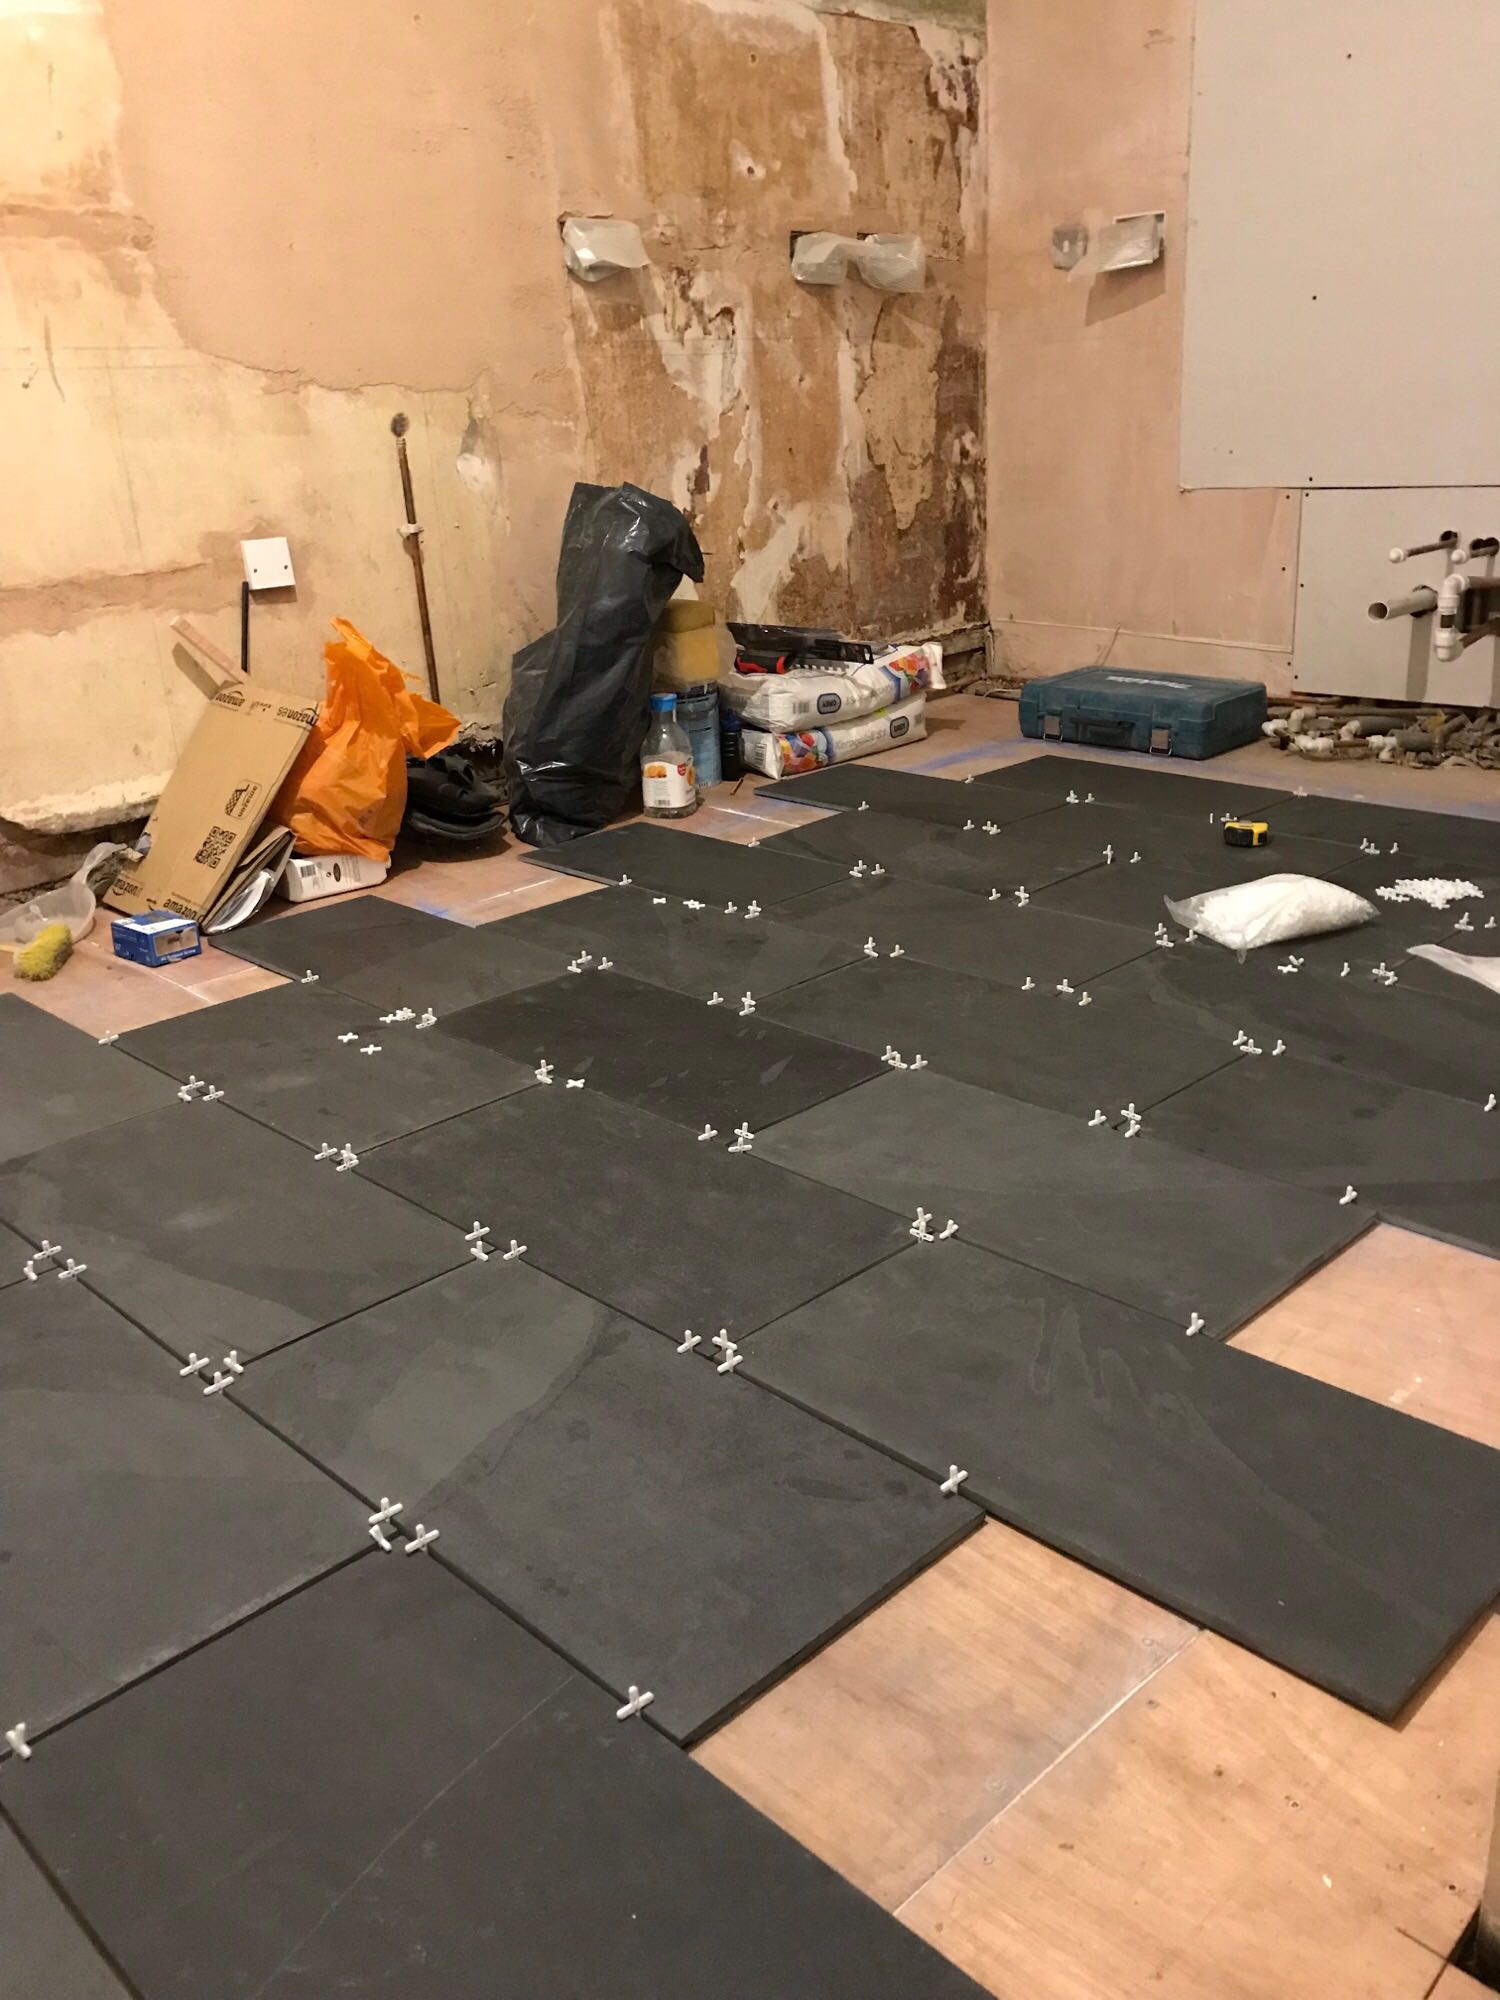
At the end of my last post, the floor was ready to tile, and our slates were all ready to go. I got sorted out with some adhesive, a 10mm notched trowel to make a good deep bed of said adhesive, some 5mm spacers and some grout.
First up, since we’re using natural slate, it needs to be sealed. A quick wash with a sponge and warm water, 6 hours to fully dry, then I applied the sealer that our tile shop suggested. It was just a case of rolling it on with a mini paint roller, a few coats on each tile and 24 hours to dry, so it’s worth starting this a few days before you tile as it is a quick job but the drying time’s a pain. I laid them out dry, with spacers, to check we liked the arrangement- it’s one of those things which is hard to know until you see it.
Flexible adhesive is a must on timber, but the advice I had from our tile shop was that S1 should be fine, no need for expensive latex to make it an S2 adhesive if you screw it down well and pass the jumping test. The latex costs about £10 a litre, and we’d have needed at least 10l, so that was welcome news! For the 7 sqm that I tiled we needed about 35kg of adhesive, a little under 2 bags- more that the product information recommends, but that’s because of the thick bed which allowed me to resolve some slight levelling differences between the boards.
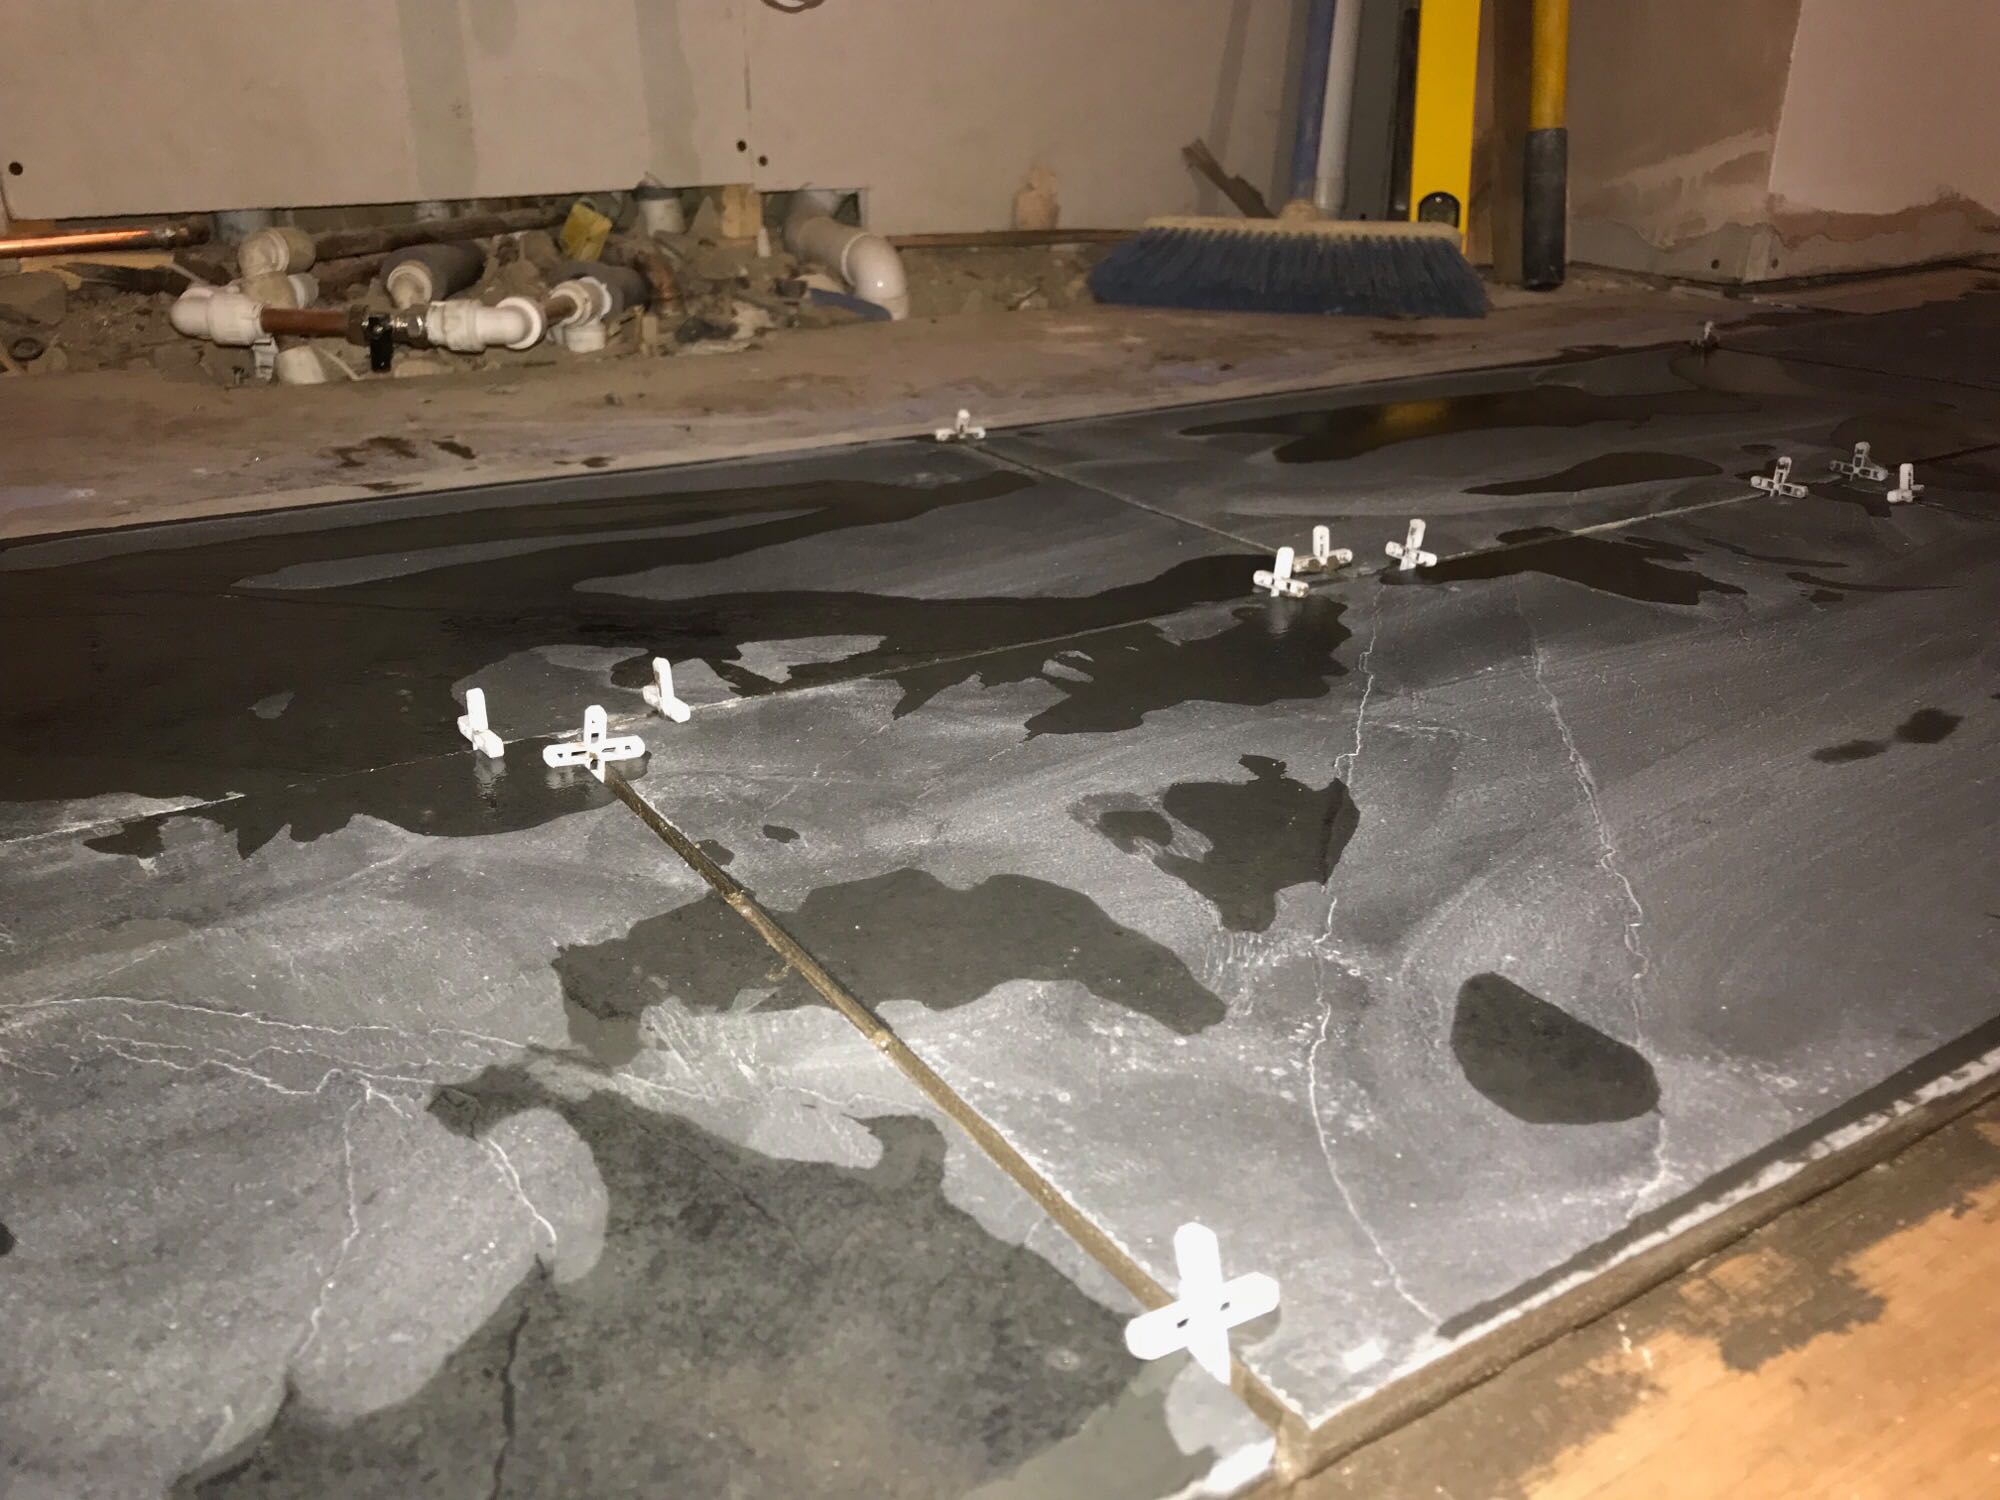
Rapid set adhesive sets rapidly (duh) which is useful and recommended when working with large format tiles and stone as it makes it much easier to line up tiles by butting them against previously laid tiles, without shoving those out of position. However, with only half an hour’s work time, there’s no way you’ll be able to use an entire bag’s worth of adhesive at once (which is what the bag’s instructions have for mixing!), so work out the quantities you can work with in the time.
I mixed 4kg of adhesive at a time, which was a little more than enough to back-butter 6 600 x 300 tiles, and lay down a 10mm adhesive bed for them. I found an old polyfiller container which would hold 2 kg, so used that to measure it out easily, and added a bit more than 1l of water, just roughly measured with a water bottle from the recycling. I was worried that my paddle mixer wouldn’t work well with small quantities like that, but it was fine. Buy a paddle mixer attachment – it’s a massive help and only a few quid if you already have a suitable drill.
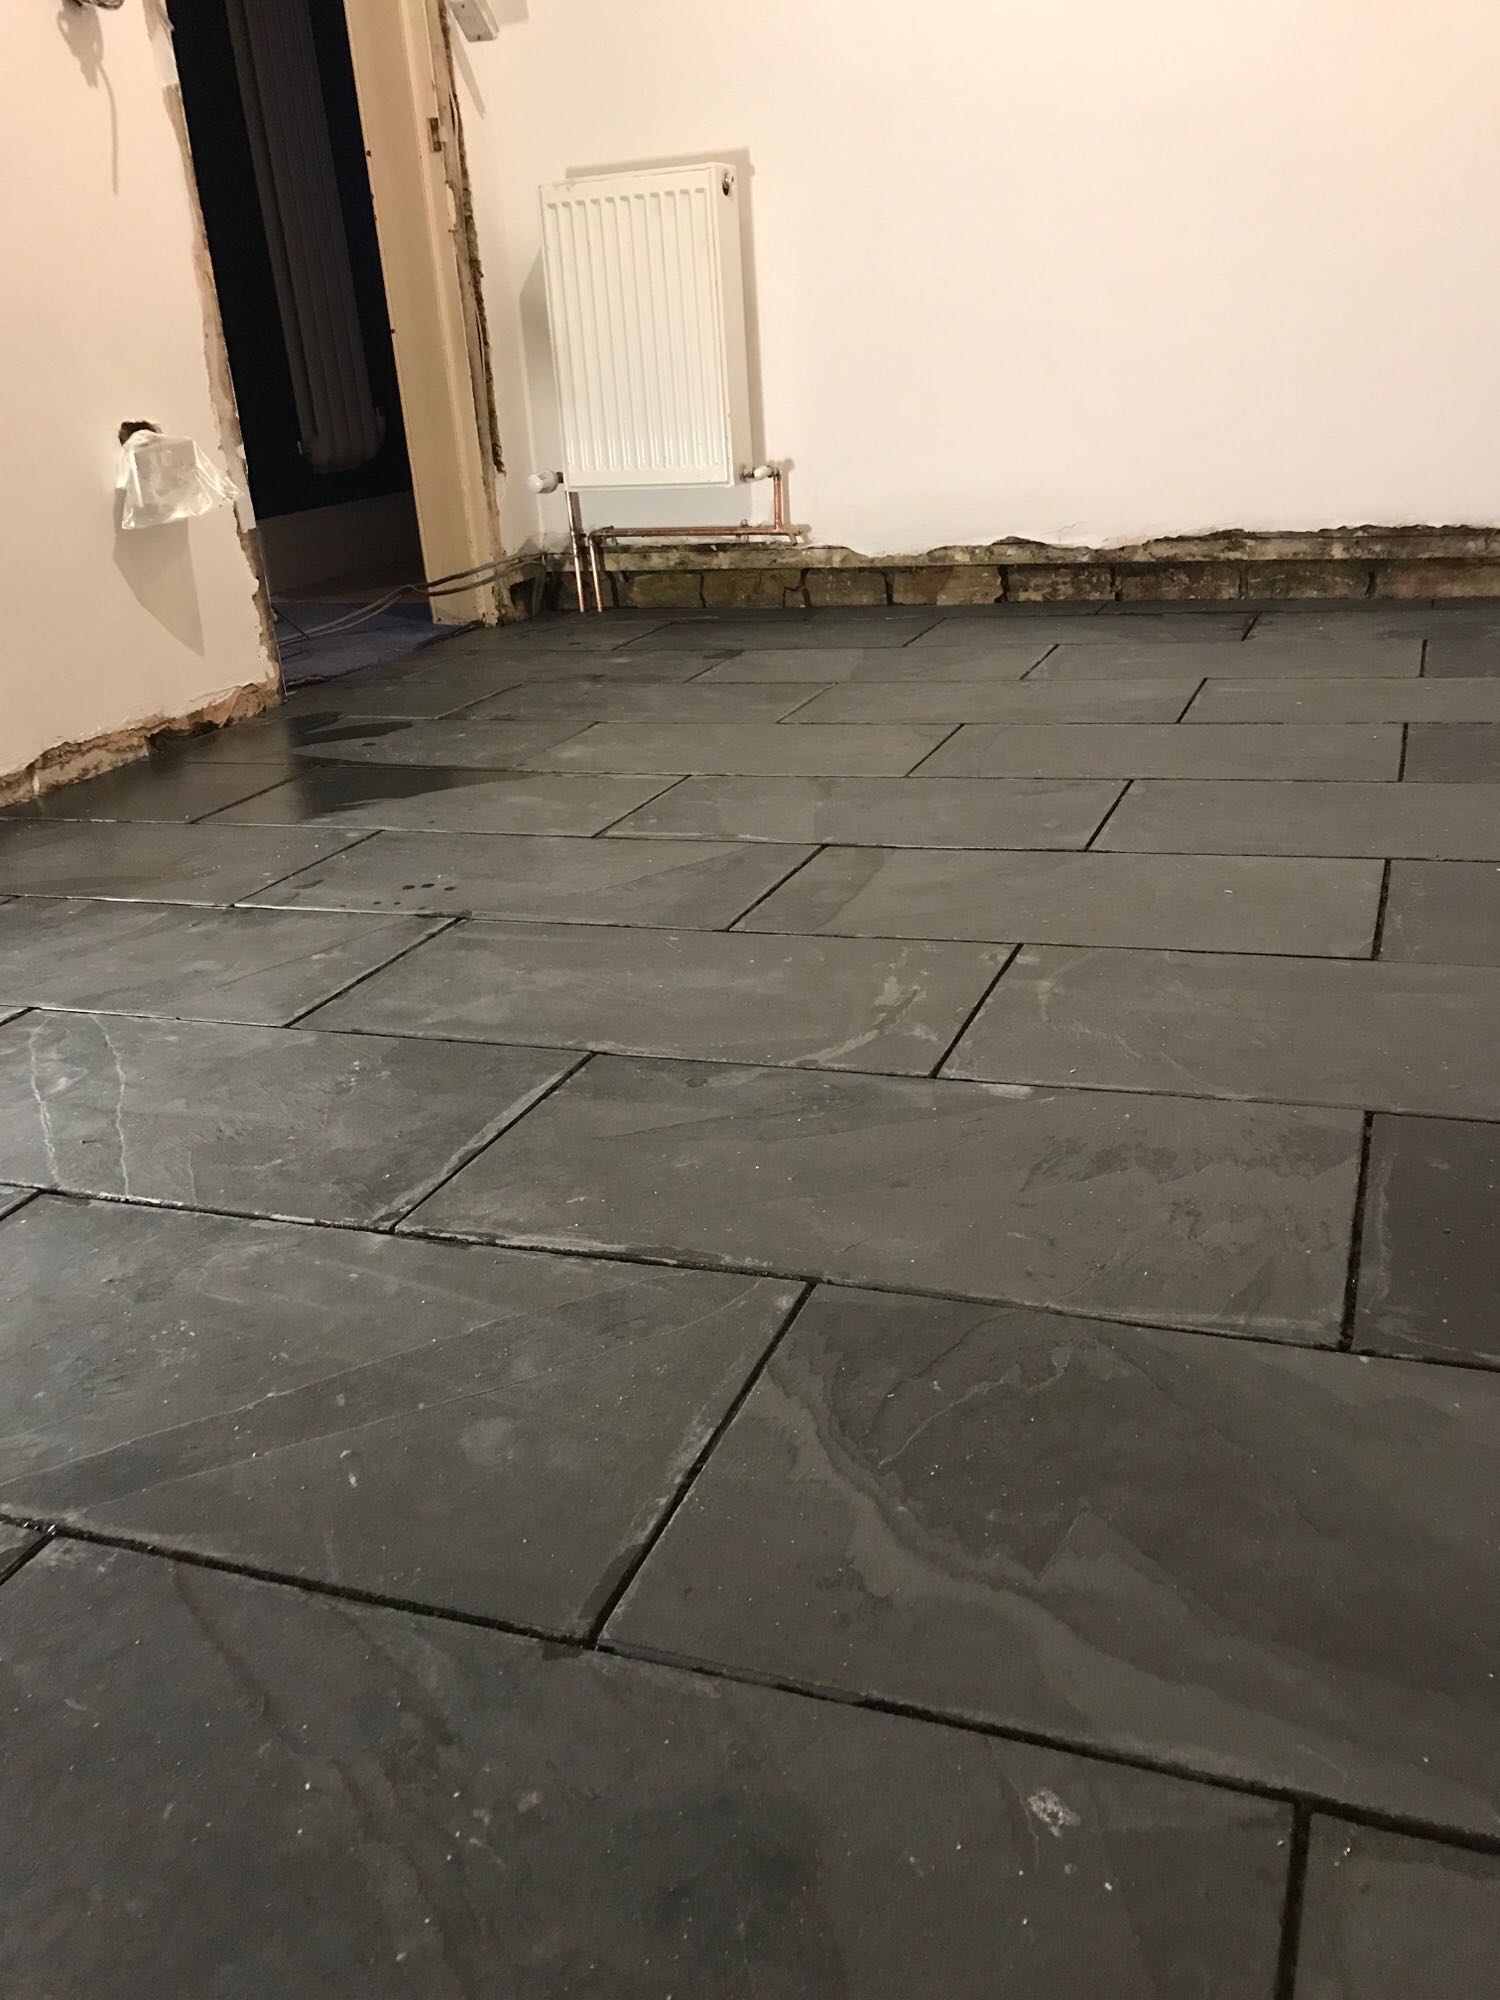
To lay the first tile, I spent a chunk of time finding the centre of the area to be tiled (not the whole room, as we have cabinets on two walls and won’t waste tiles underneath them. A chalk line for that is helpful, but only for the first tiles, as if you’re anything like me, the alignment lines will go out the window when you start getting adhesive on the floor. More lines would make lining up subsequent tile easier if you have better float control than I do, or maybe if you used a sharpie and a straightedge so they don’t just wash away. For me though, the alignment all came off the first tile, and then I measured the offsets as I laid the other tiles, to get the brickwork pattern. I used the 5mm spacers between each tile, just sticking up so they could be removed and reused easily. A bag of 1000 was way too many.
When you mix up the adhesive, definitely put the six tiles worth of adhesive bed on the floor all at once- it’s much easier than one time at a time, which is what I did the first time around. You need to be careful not to stand in it but that’s easier than rushing to get down adhesive which is about to go off for the sixth tile. I was sweating by the end of the first six, which I did the wrong way!
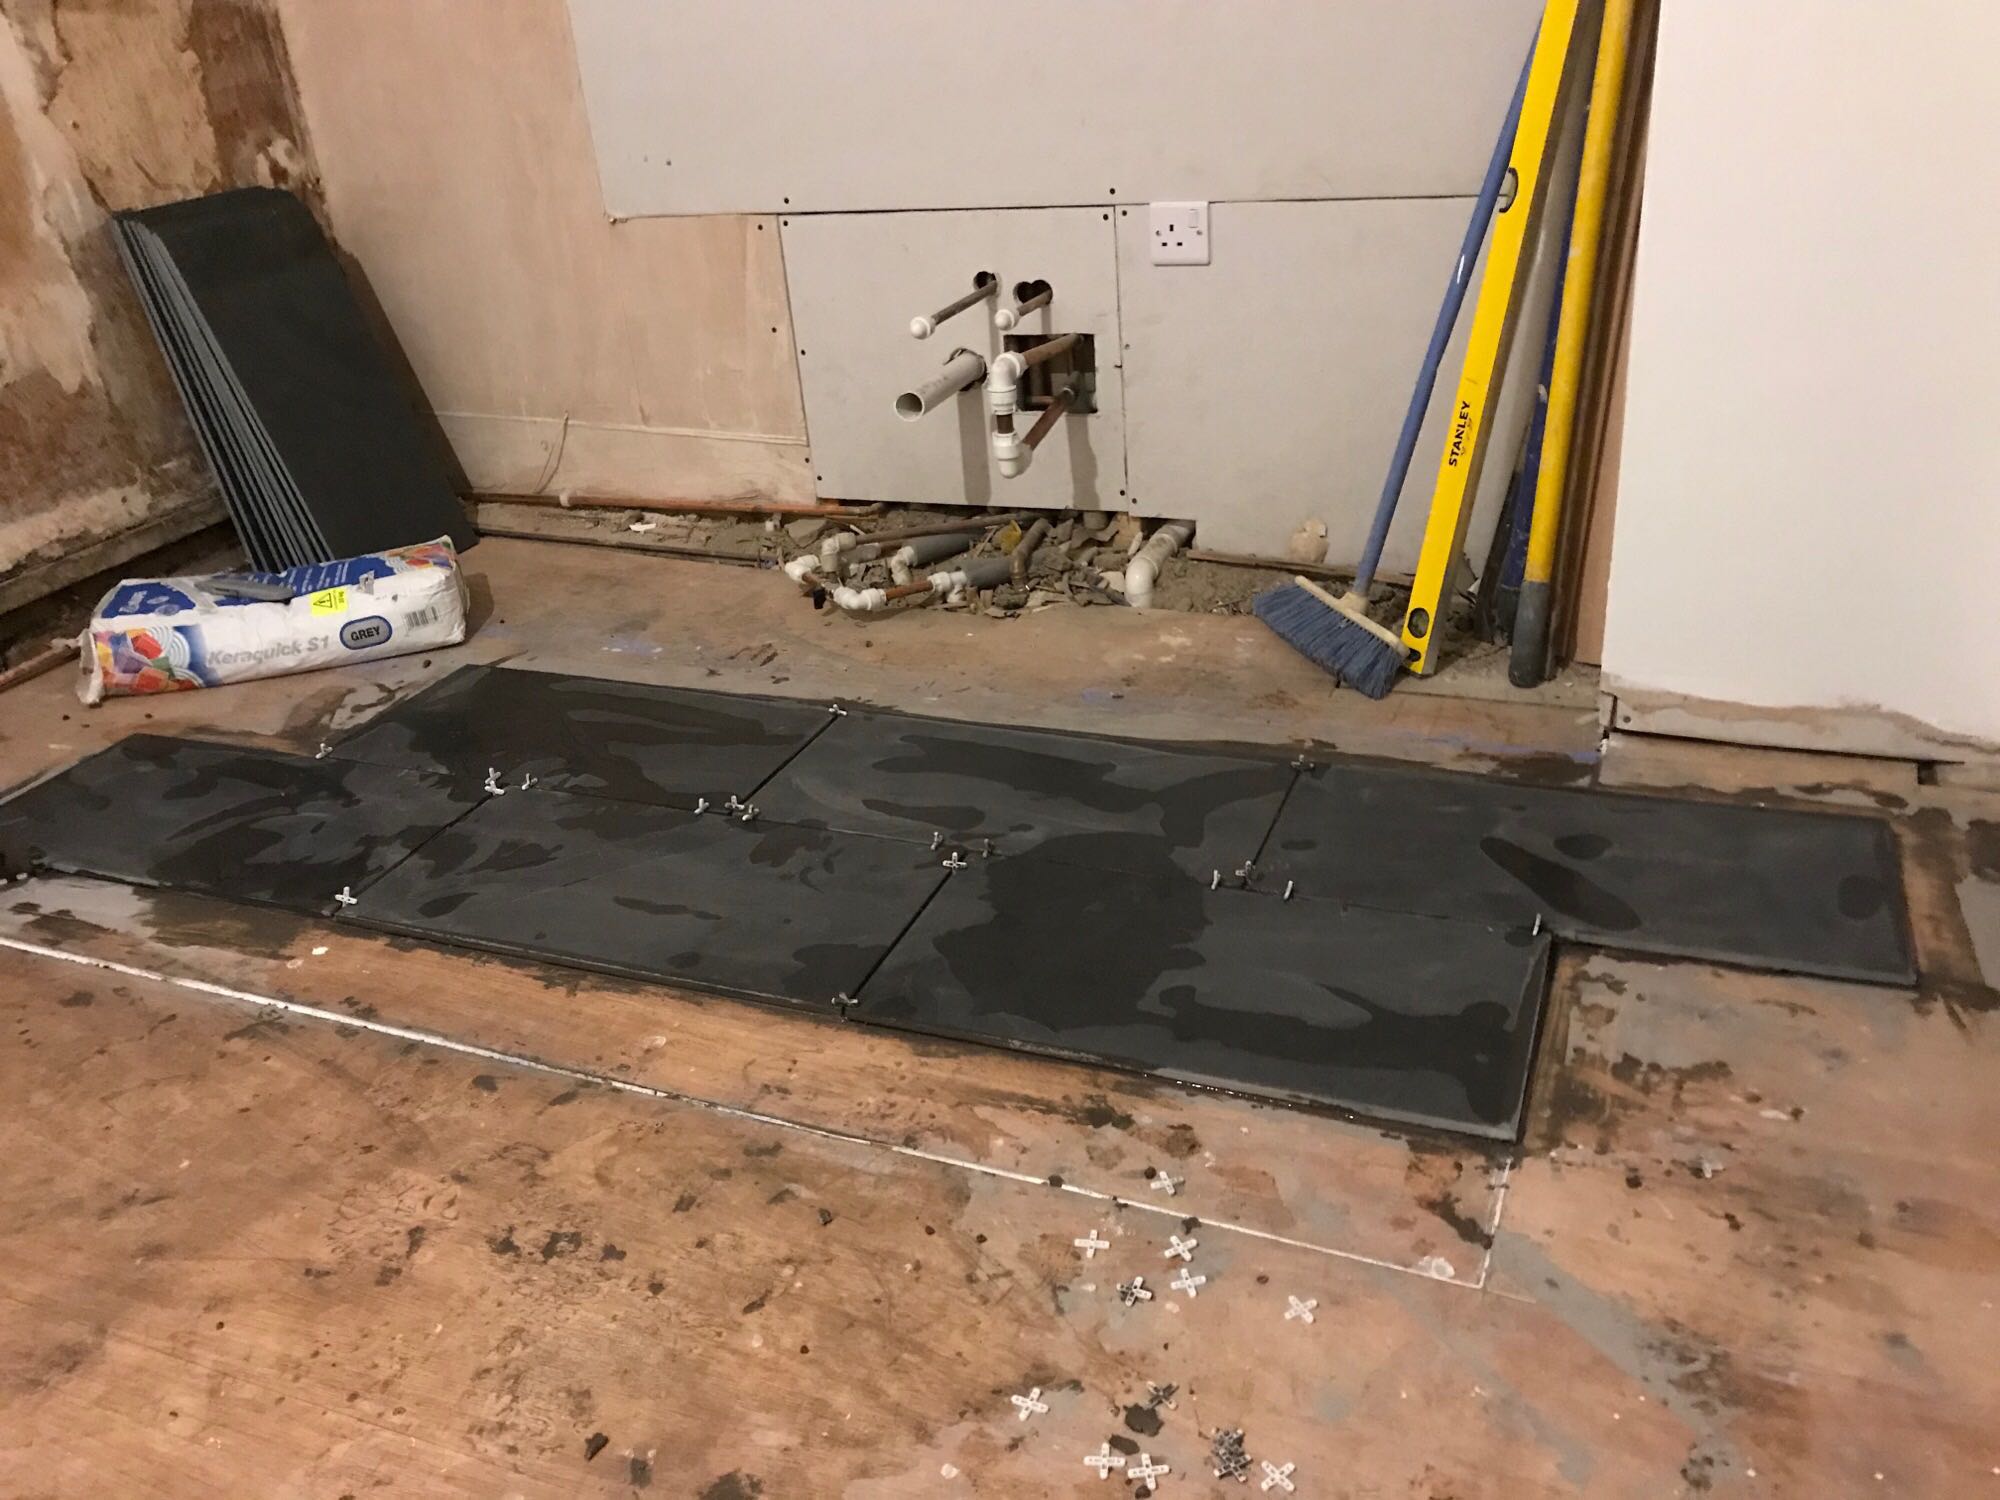
I laid all the whole tiles first, over an evening and half a day, and then spent half a day cutting the tiles for the edges. The following day was laying the edge tiles, which took a bit longer to get just right, as well as grouting and cleaning.

For the cuts, I found a wet saw really quite easy to use. I bought a £50 one from Screwfix by a little known brand, and it worked like a dream. I did all the cuts in one afternoon, and didn’t waste a single tile. Just take it slow and like any cutting, let the tool do the work. I popped them all in place so that when I came to stocking them down, it wouldn’t be confusing, then laid them the following morning. File and nibblers are helpful for small fiddly bits but I did almost everything on the wet saw, including tiny notches around the doors and that sort of thing.
I mixed half as much adhesive at a time for the cut tiles, as getting it on the floor correctly was that much more fiddly, so I was working more slowly, but other than that it was just the same as the full size tiles.
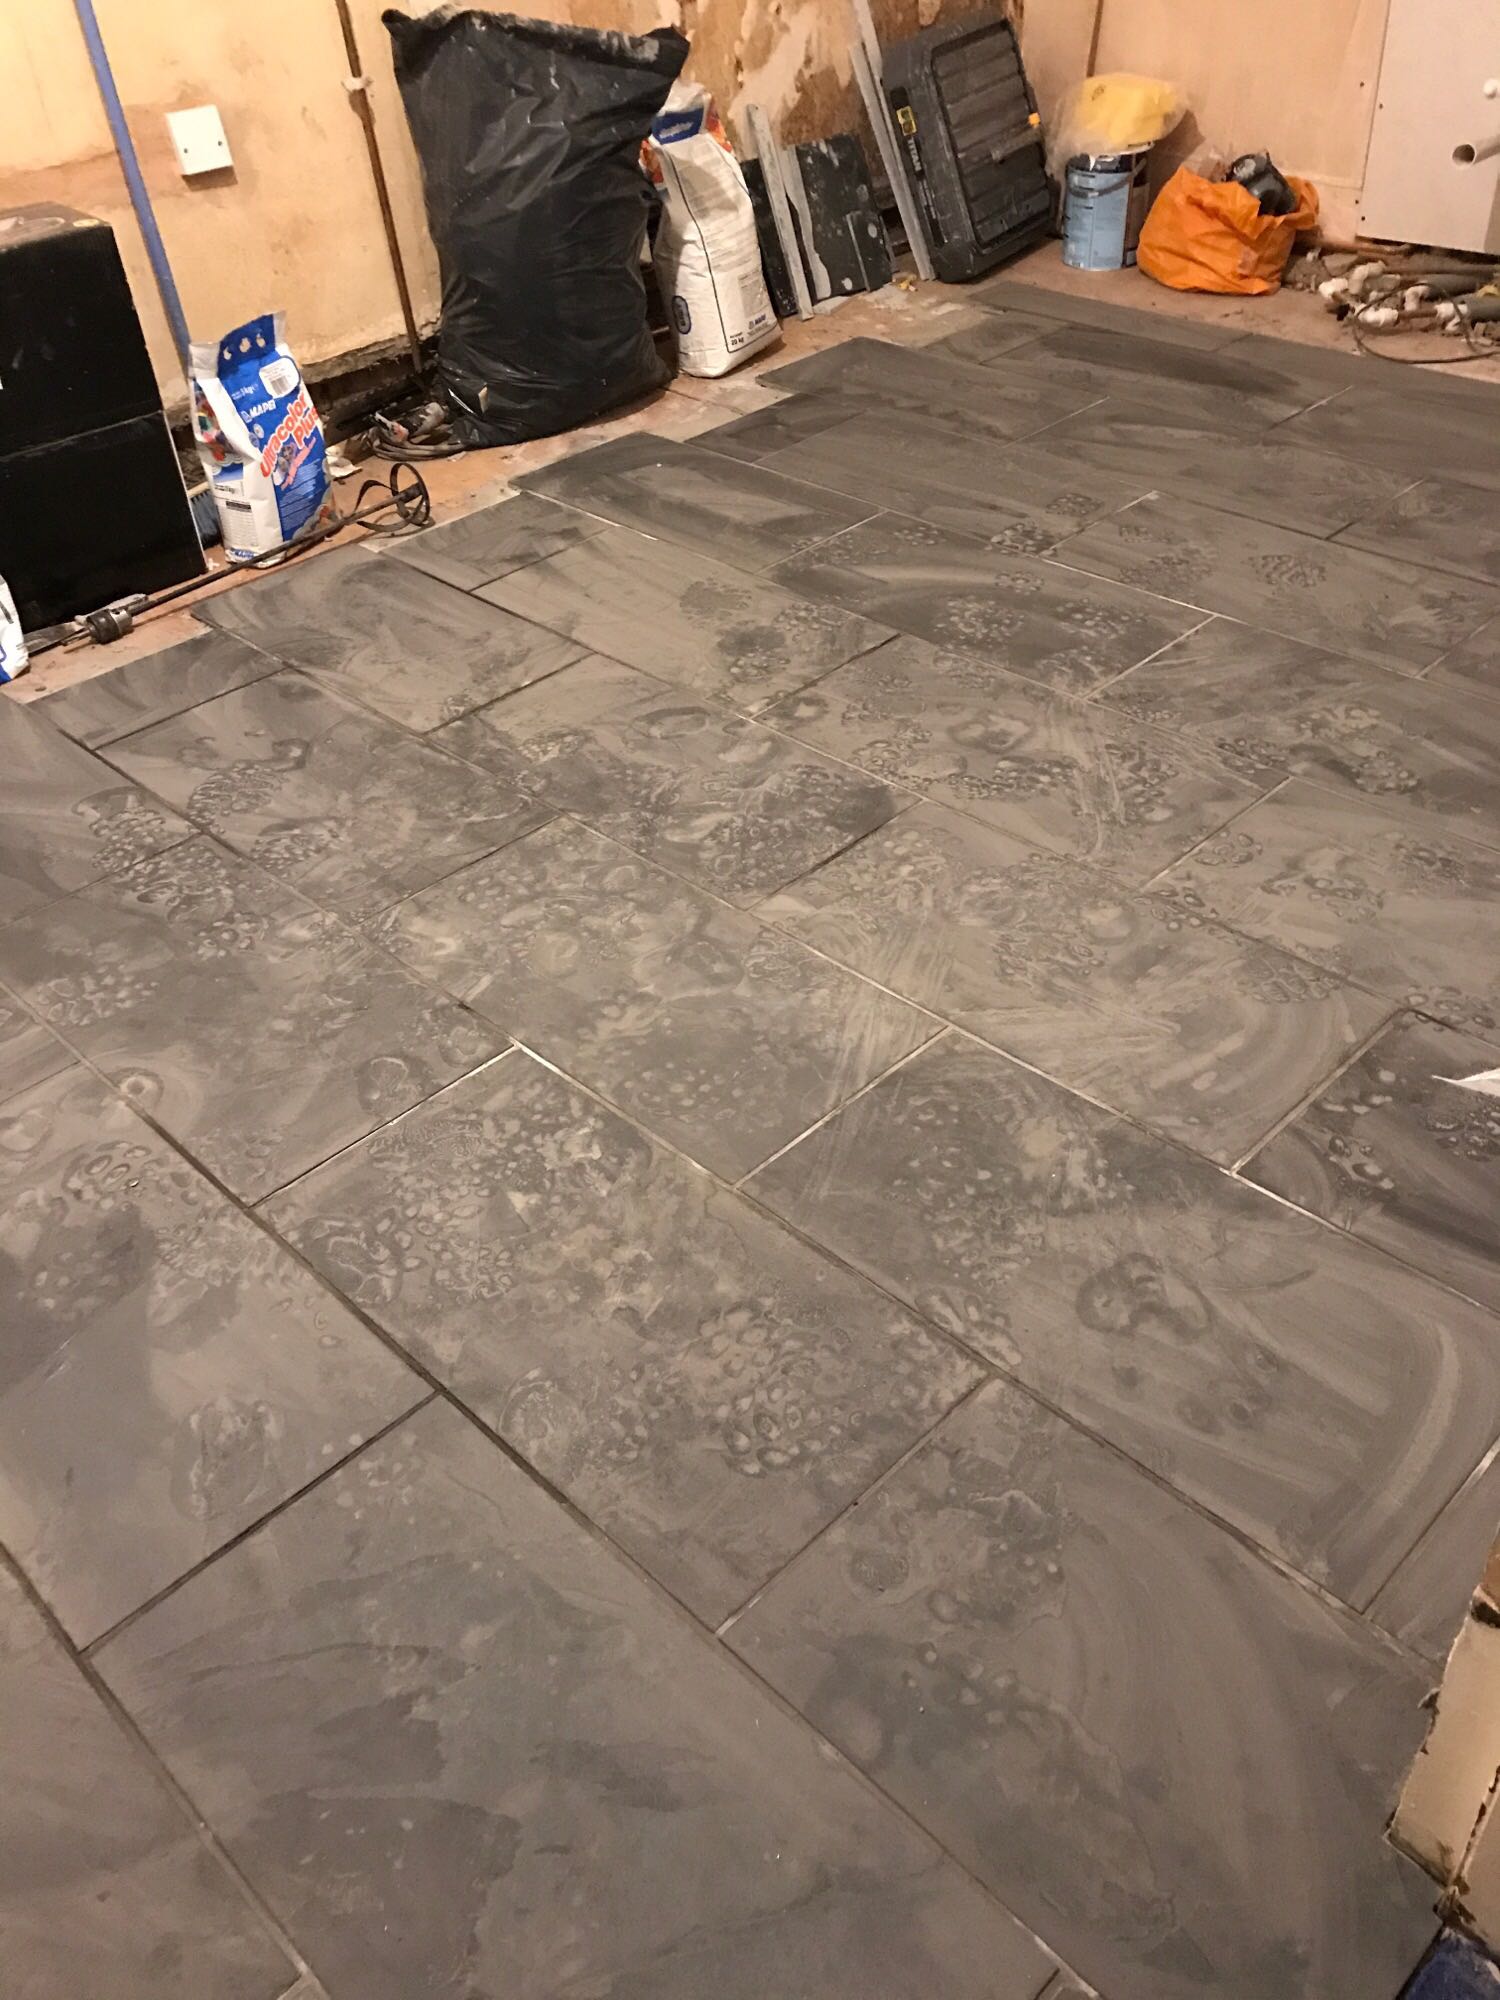
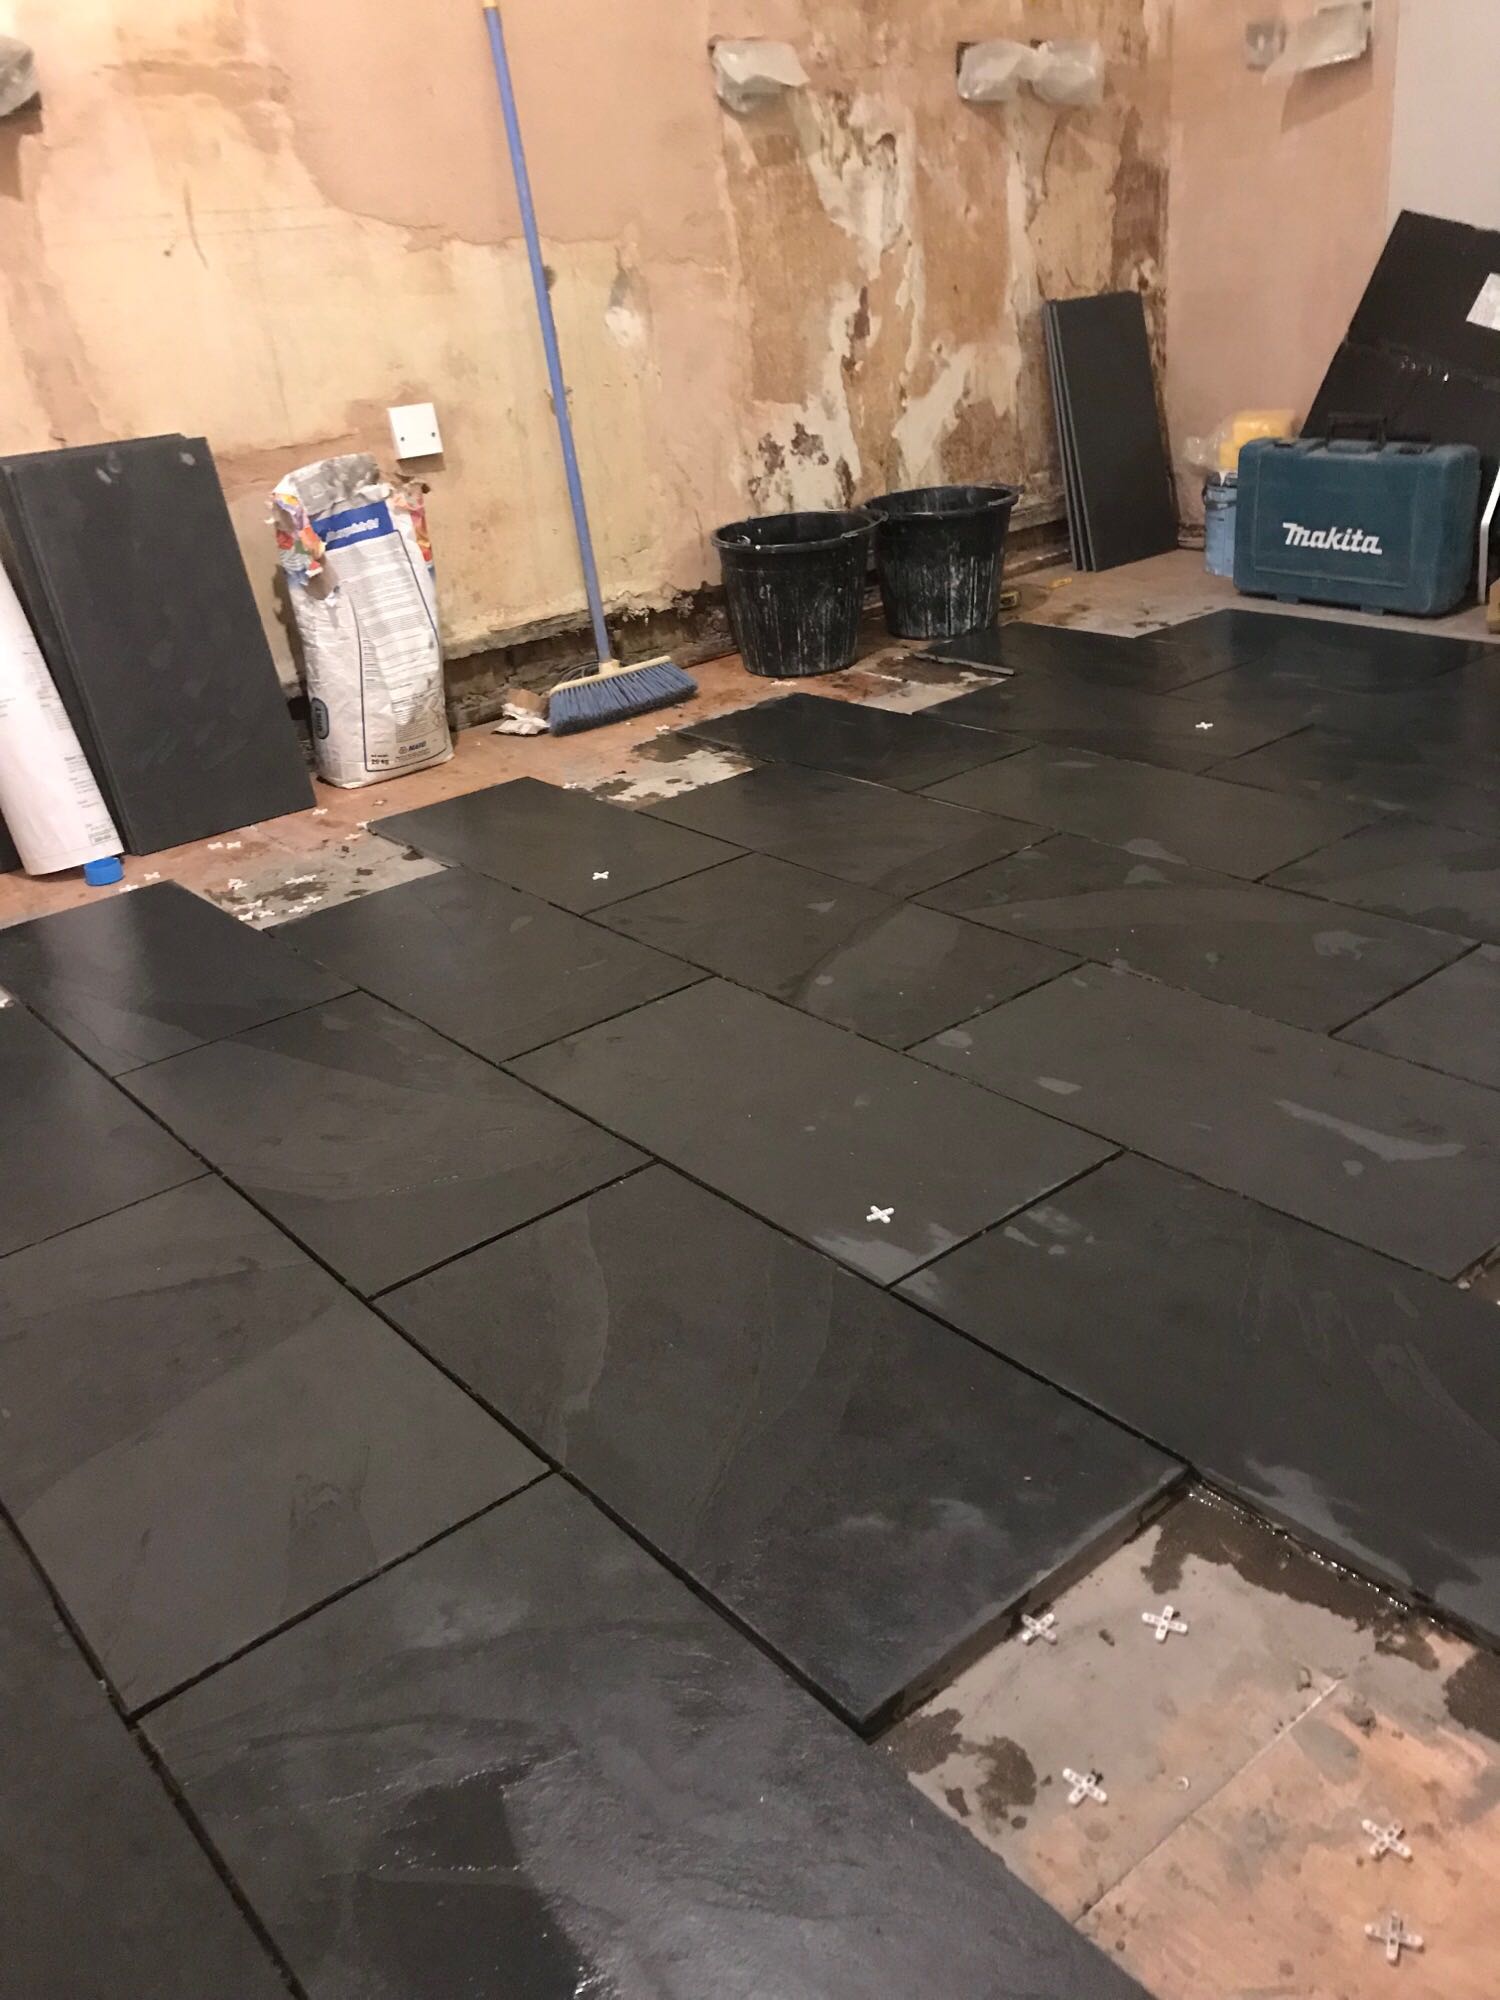
Once the adhesive had all had 2-3 hours to set up, I washed it all a few times and started on the grouting. I used a grout bag, like a giant icing bag, which needed a slightly runnier grout mix to work. It was nearer than a float, but probably wasn’t worth the faff for slate. If you were laying travertine, you’d need to do it as otherwise the grout would fill all the little holes in the surface and spoil the effect a bit. It wasn’t too bad though.
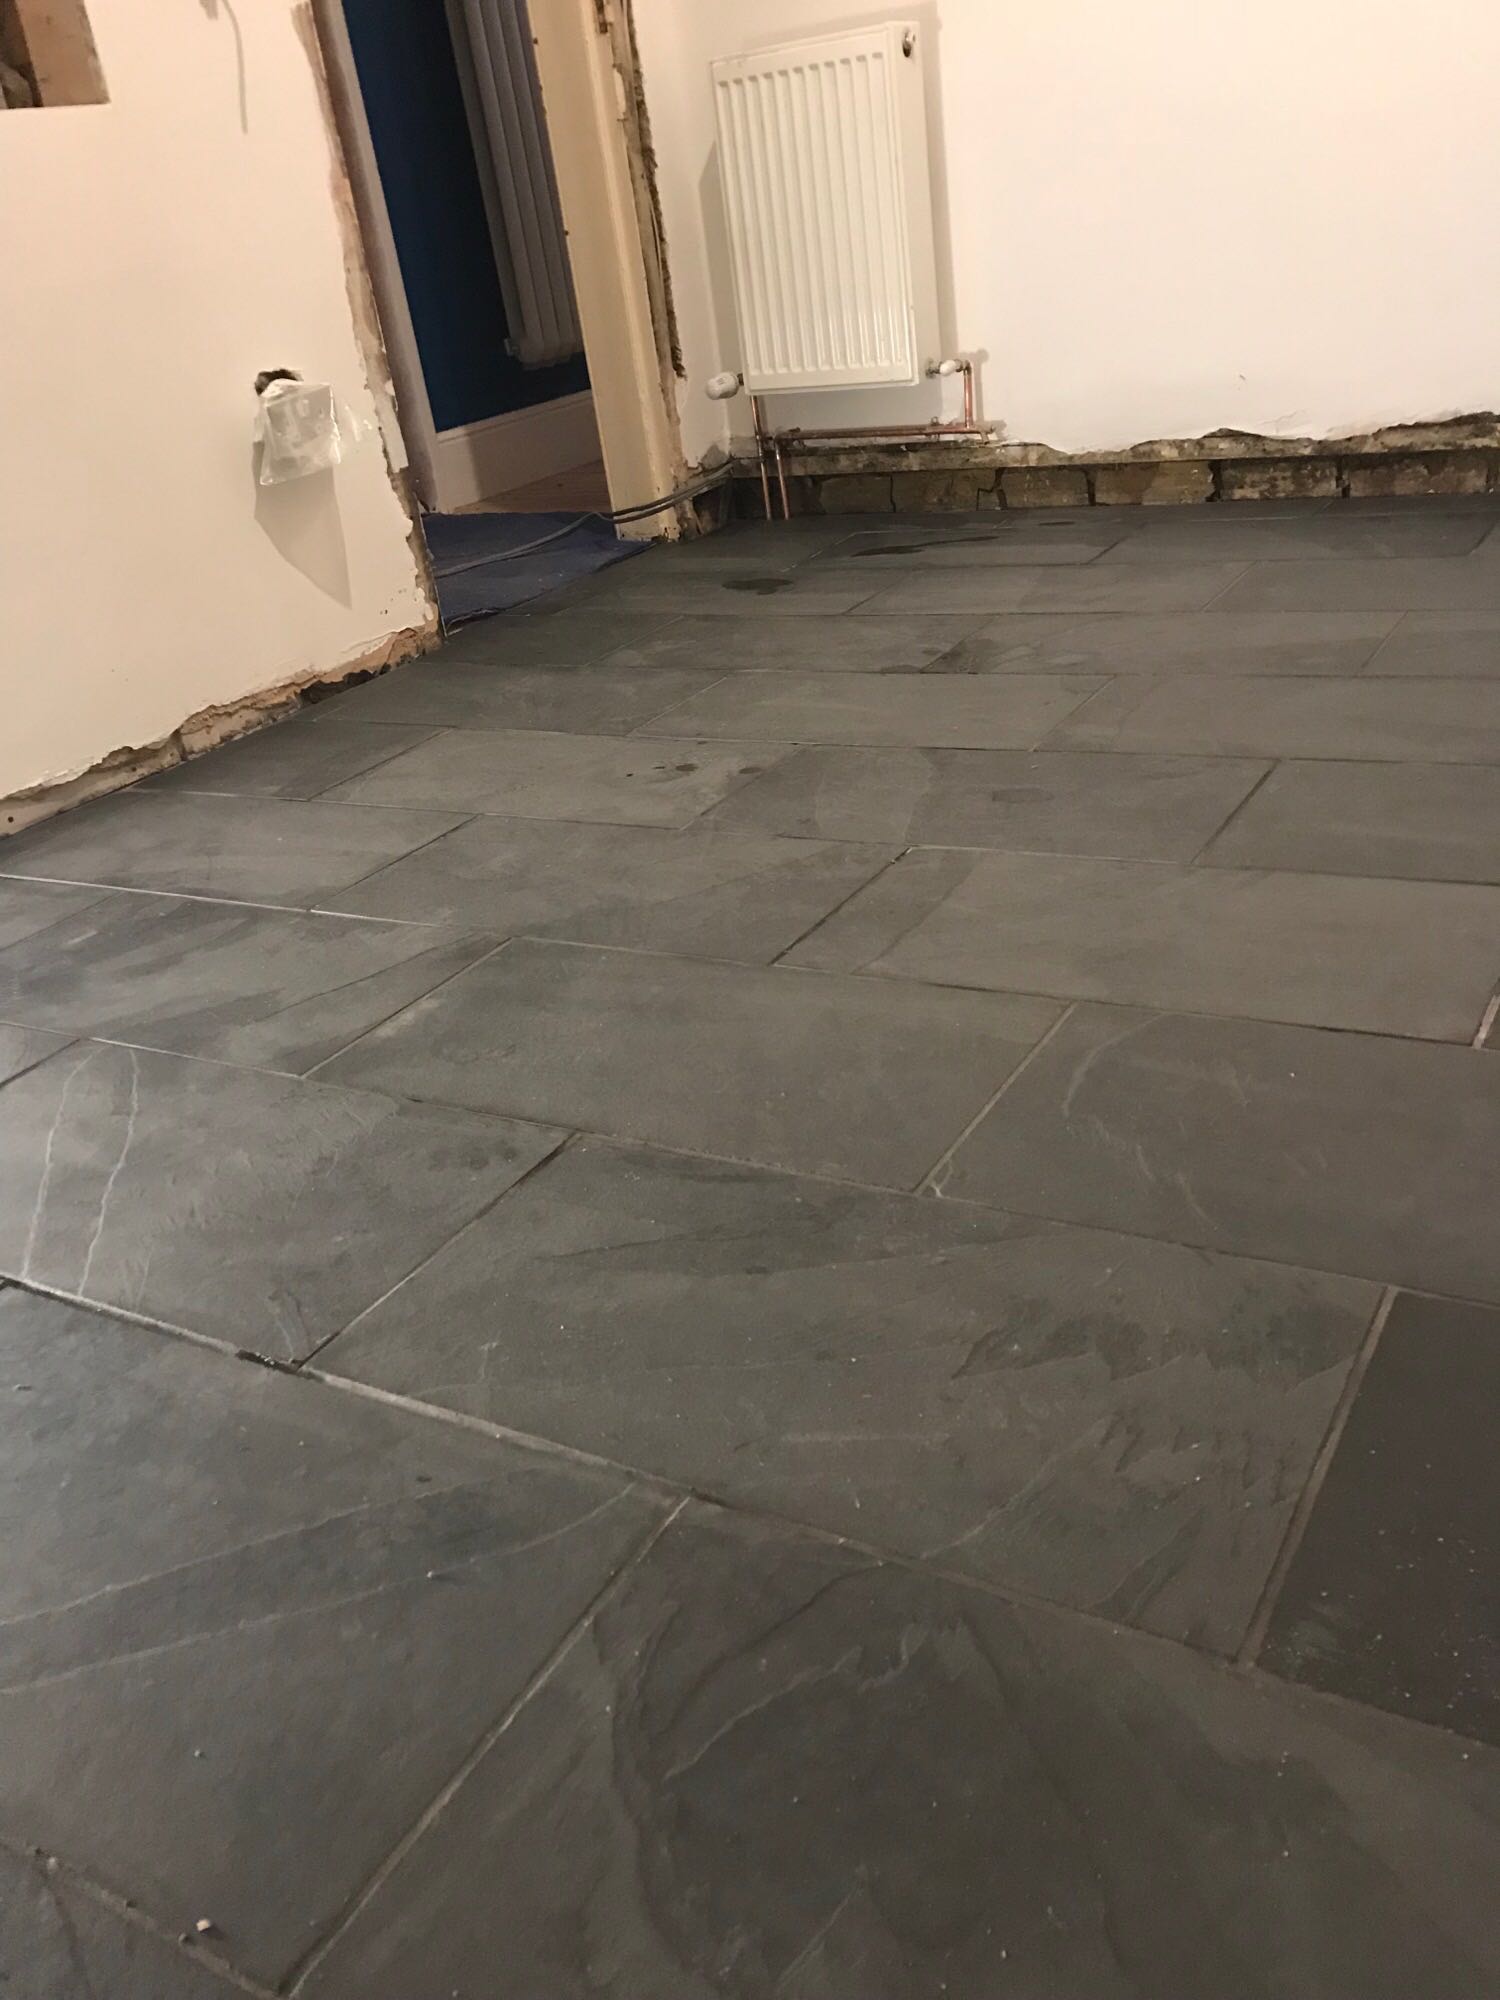
A few more washes, and the floor was finished- by no means perfect, but I was able to get it pretty much there with only a few tiles with a small lip compared to their neighbours.