Finding (or admitting to myself) that the floor in the boys room was not in any way flat or level, was a pretty demoralising time. It happened at the start of a week off which I’d aimed to use to get the room all done apart from the painting; instead, I spent most of the time working out what was wrong, and how I should fix it.
I spoke to quite a few surveyors and structural engineers, who all thought it wasn’t that bad, and that they’d seen far worse in similar flats, however that didn’t change the fact that any furniture we put in there would be leaning over like nobody’s business. So, by the end of the week, I’d pulled all the floorboards back up. Ugh.
There were three ways to fix it which I considered:
- Level it from above, with plywood and a floor covering, hardwood or carpet.
- Install new, level joists sistered to the existing ones.
- Level the joists with firrings, long wedges of timber on top.
Option 1 would be the most expensive, but only because I don’t pay myself for labour! Option 2 would in theory be great, as it could add stiffness to the joists, but there’s a stud wall in the way which prevents me fitting them along the full length of these joists, and all the deafening would need to be removed, which is hard work and very messy. Option 3 is fiddly but probably the cheapest, I can do it single handed, I don’t need any new tools, and the deafening doesn’t all need to be removed, just shifted around.
Satisfied that there hadn’t been any structural members removed from beneath the floor (it doesn’t bounce when you jump on it) and that we couldn’t really strengthen it that well anyway (because of that stud wall in the way about a third of the way in to the span), I decided on option 3: to cut firrings to build up on the existing joists and get them level that way.
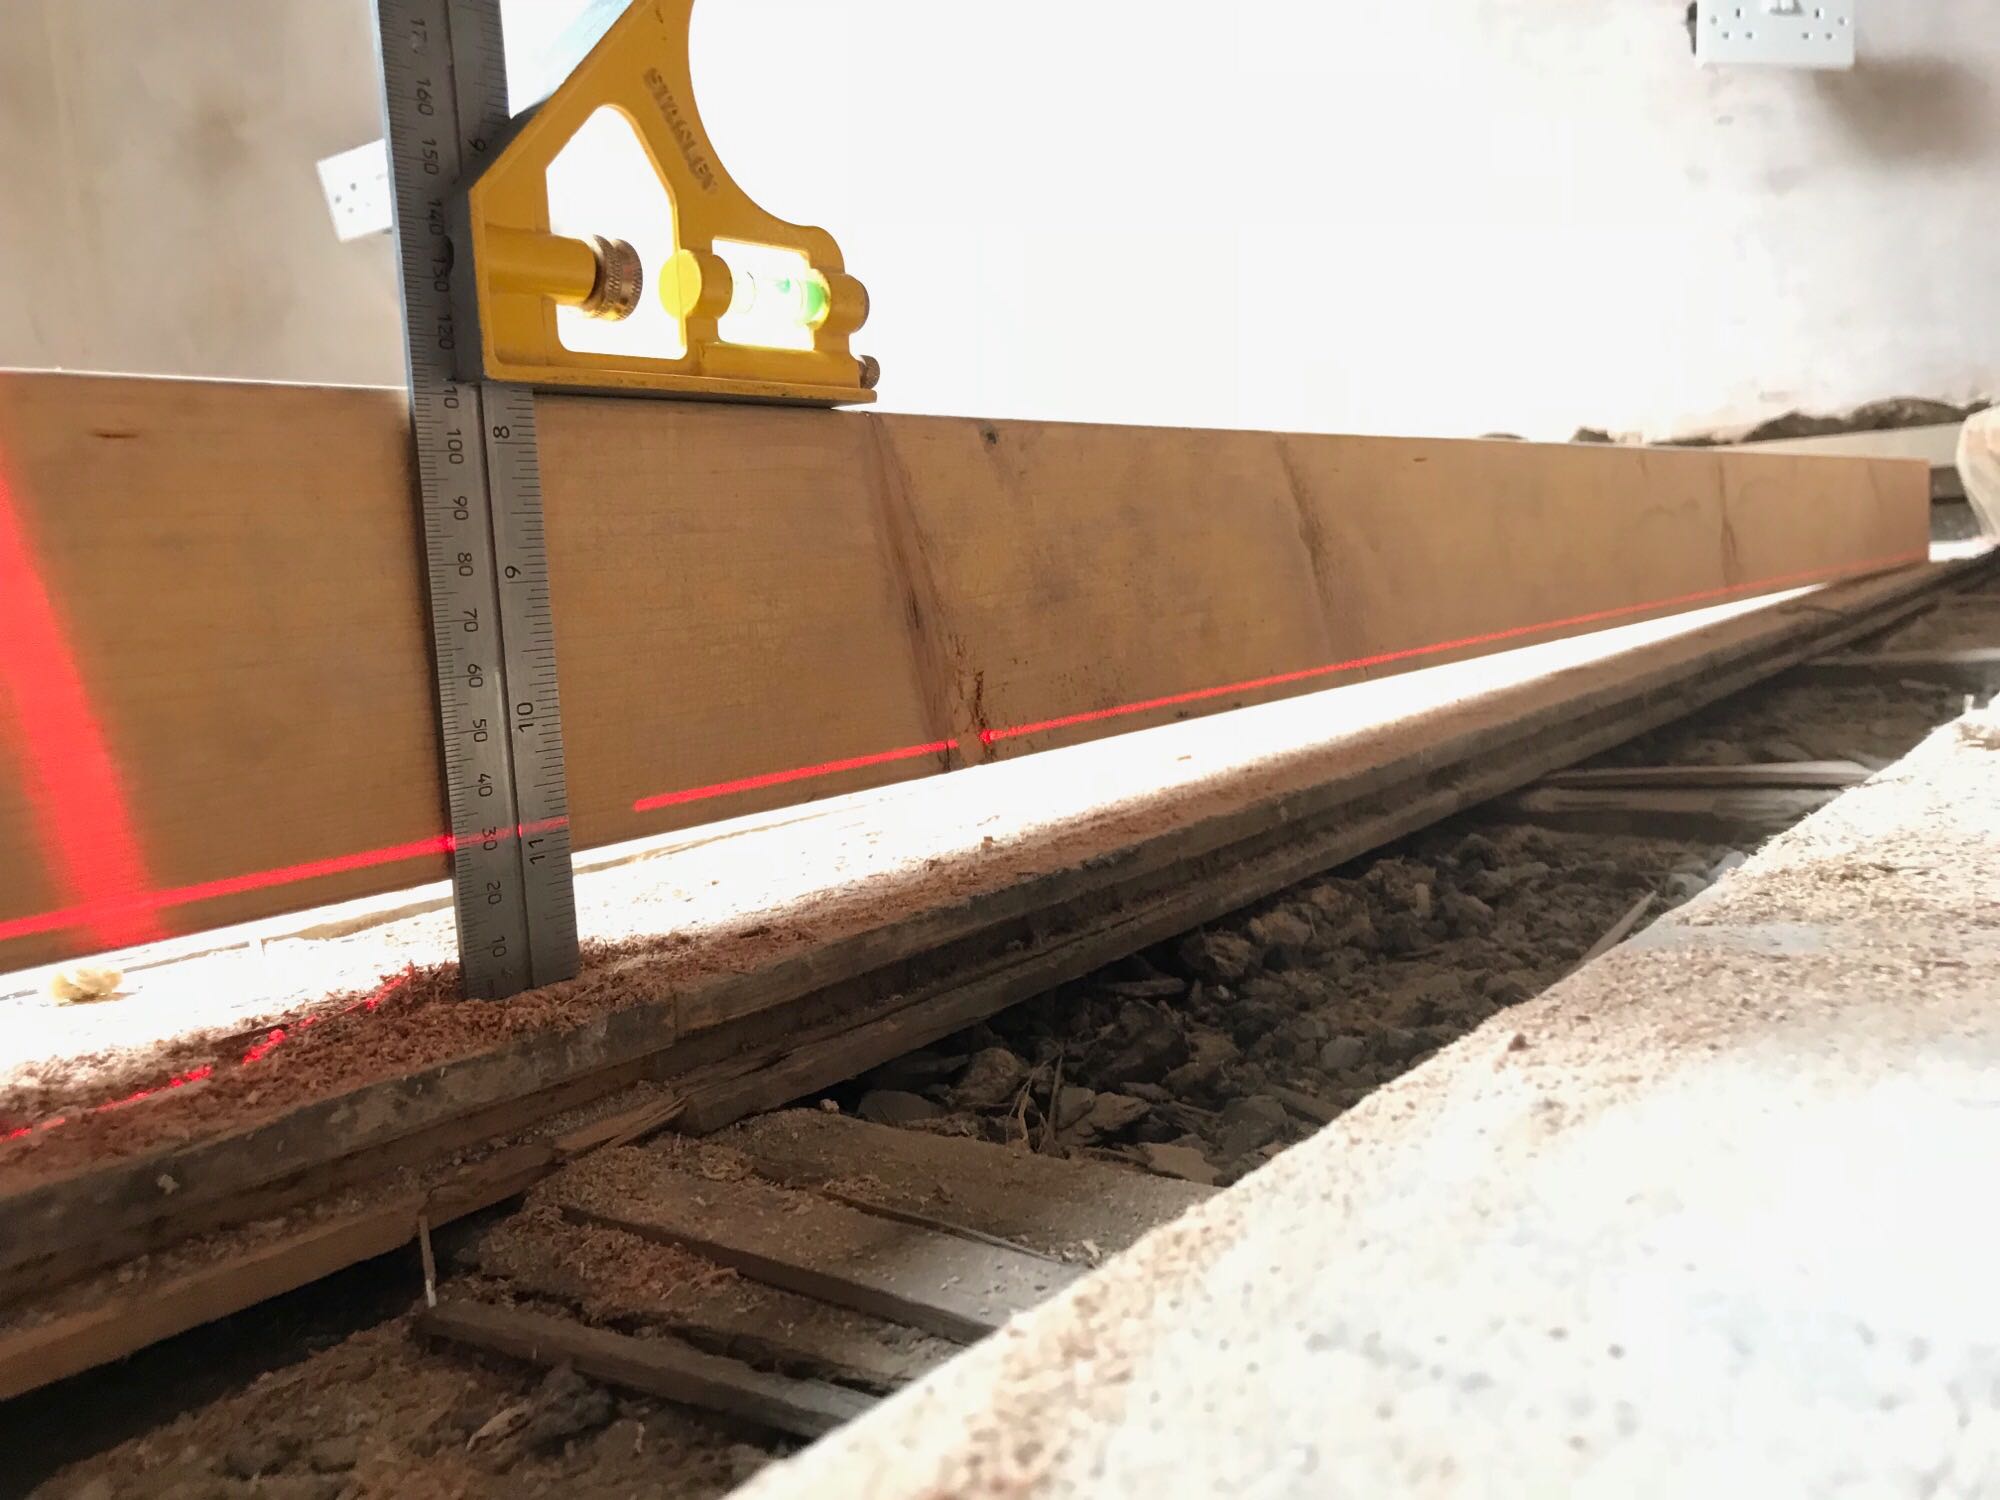
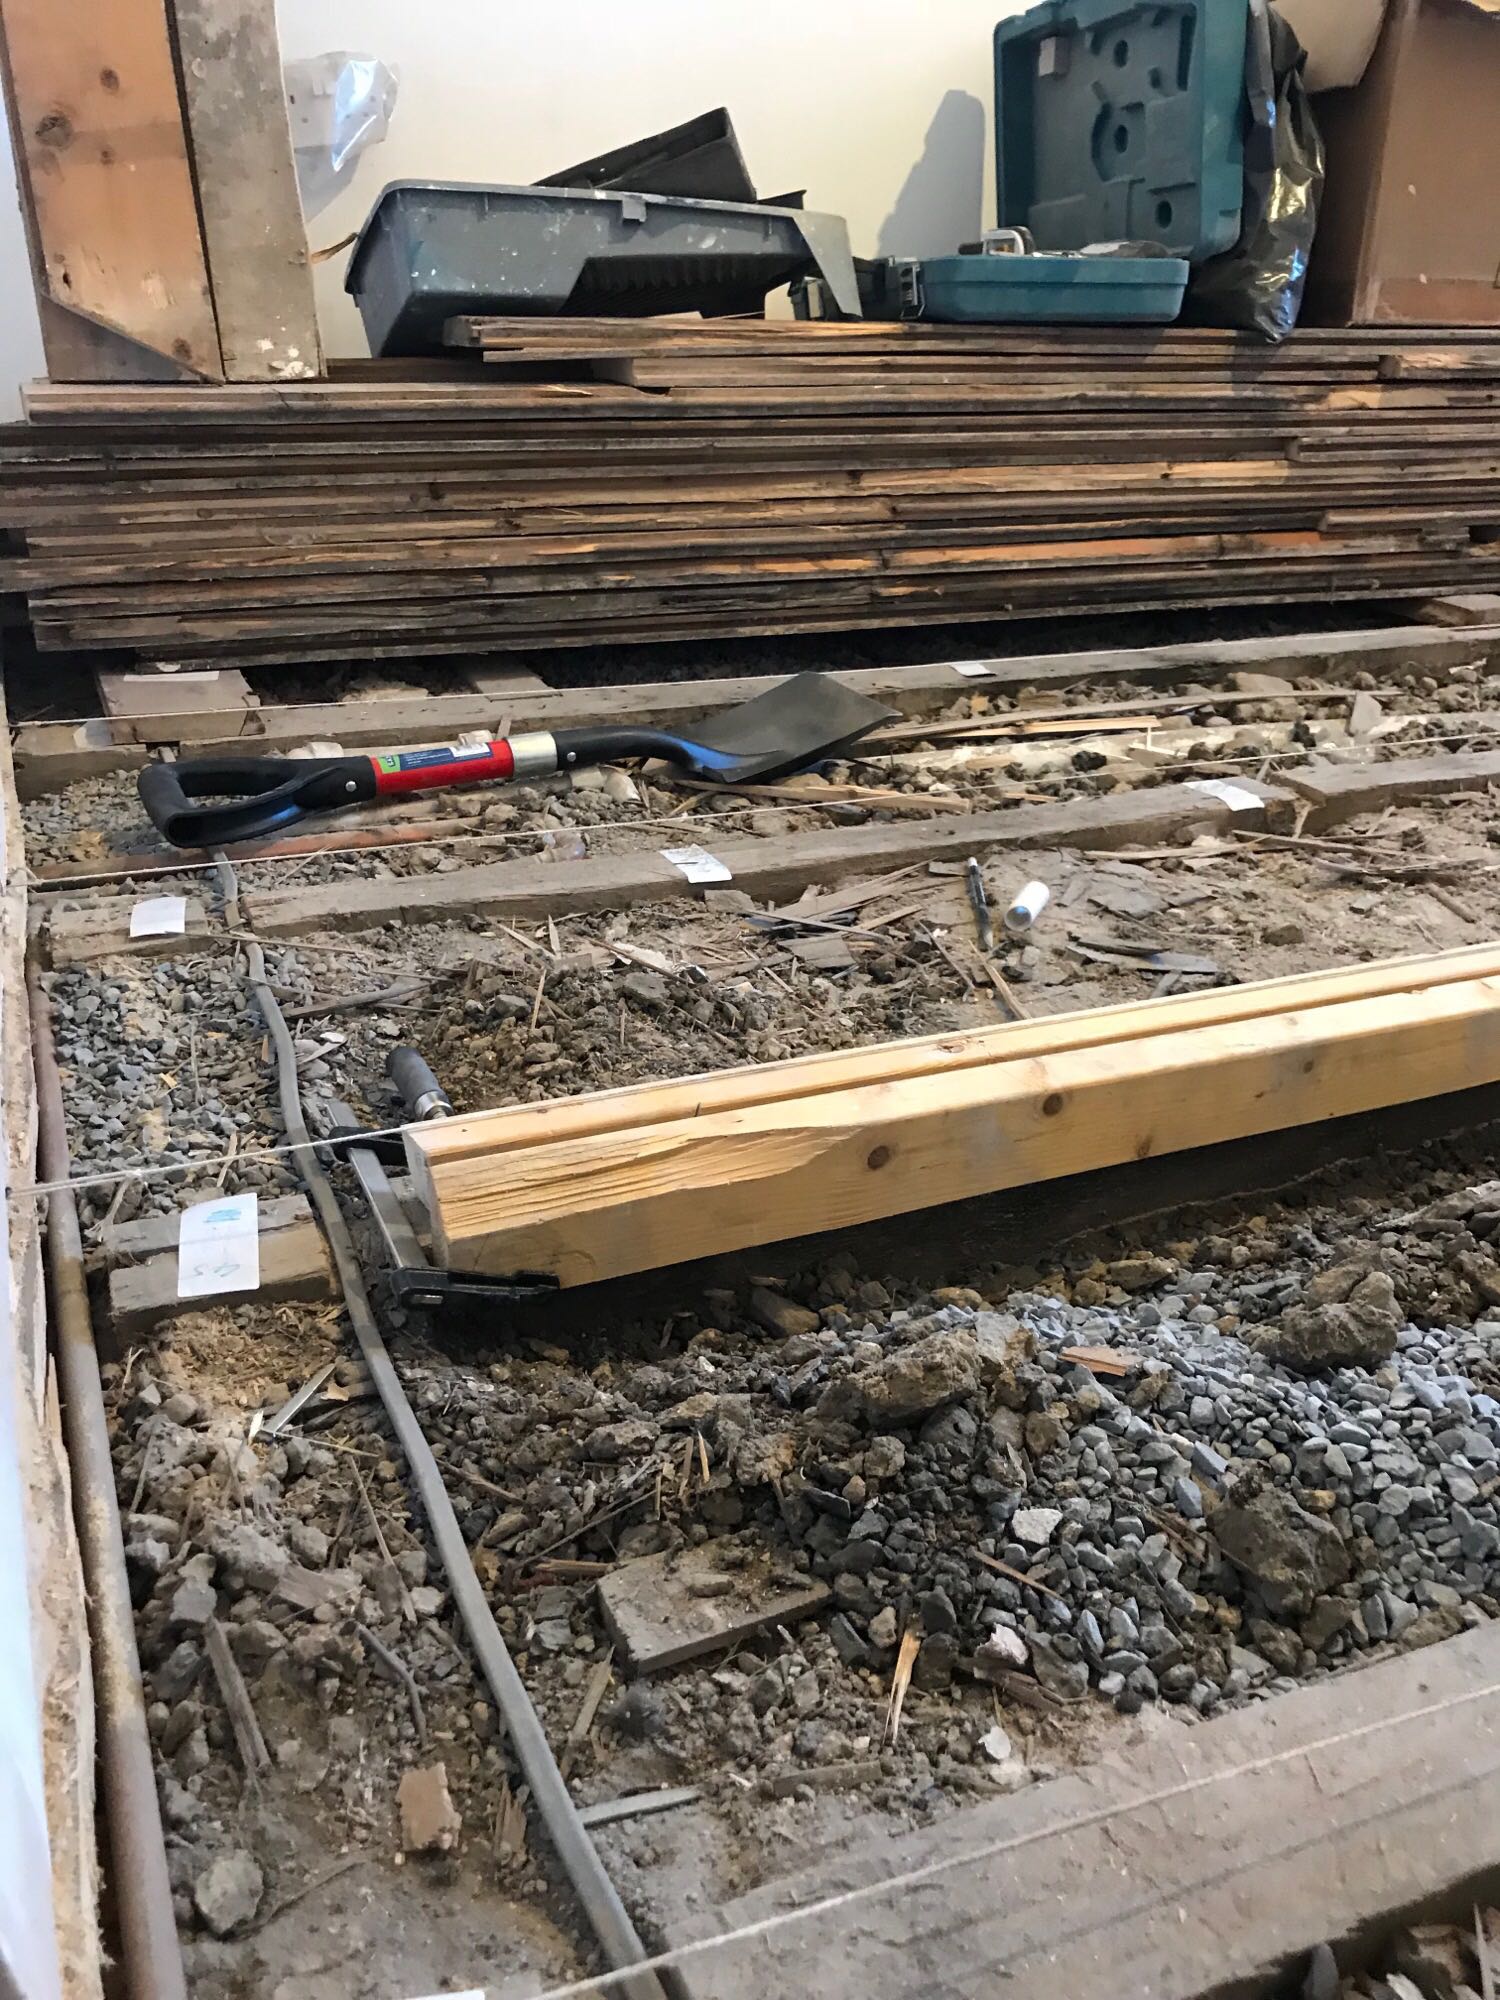
With all the floorboards lifted, I used my laser level to work out the highest joist, and levelled to that one. I went along each joist with a steel rule, measuring the depth below the laser line, and marking it on a the joist for reference. Then, I marked the points at each end of each joist, at the laser’s line again, and put screws in to mark the level with string while I worked- it’s easier to see what you’re aiming for, and doesn’t use any battery. I used the reference points to check the string too, and in some cases had to tighten up the string because it was drooping a little.

Knowing how bad it was (49mm below was the worst point, but that was a combination of the sagging and the highest joist being set 15mm higher than the others originally, for the hearth) I could buy the timber. I used 4×2 and 3×2 CLS, which are 89x38mm and 63x38mm respectively after drying and planing.
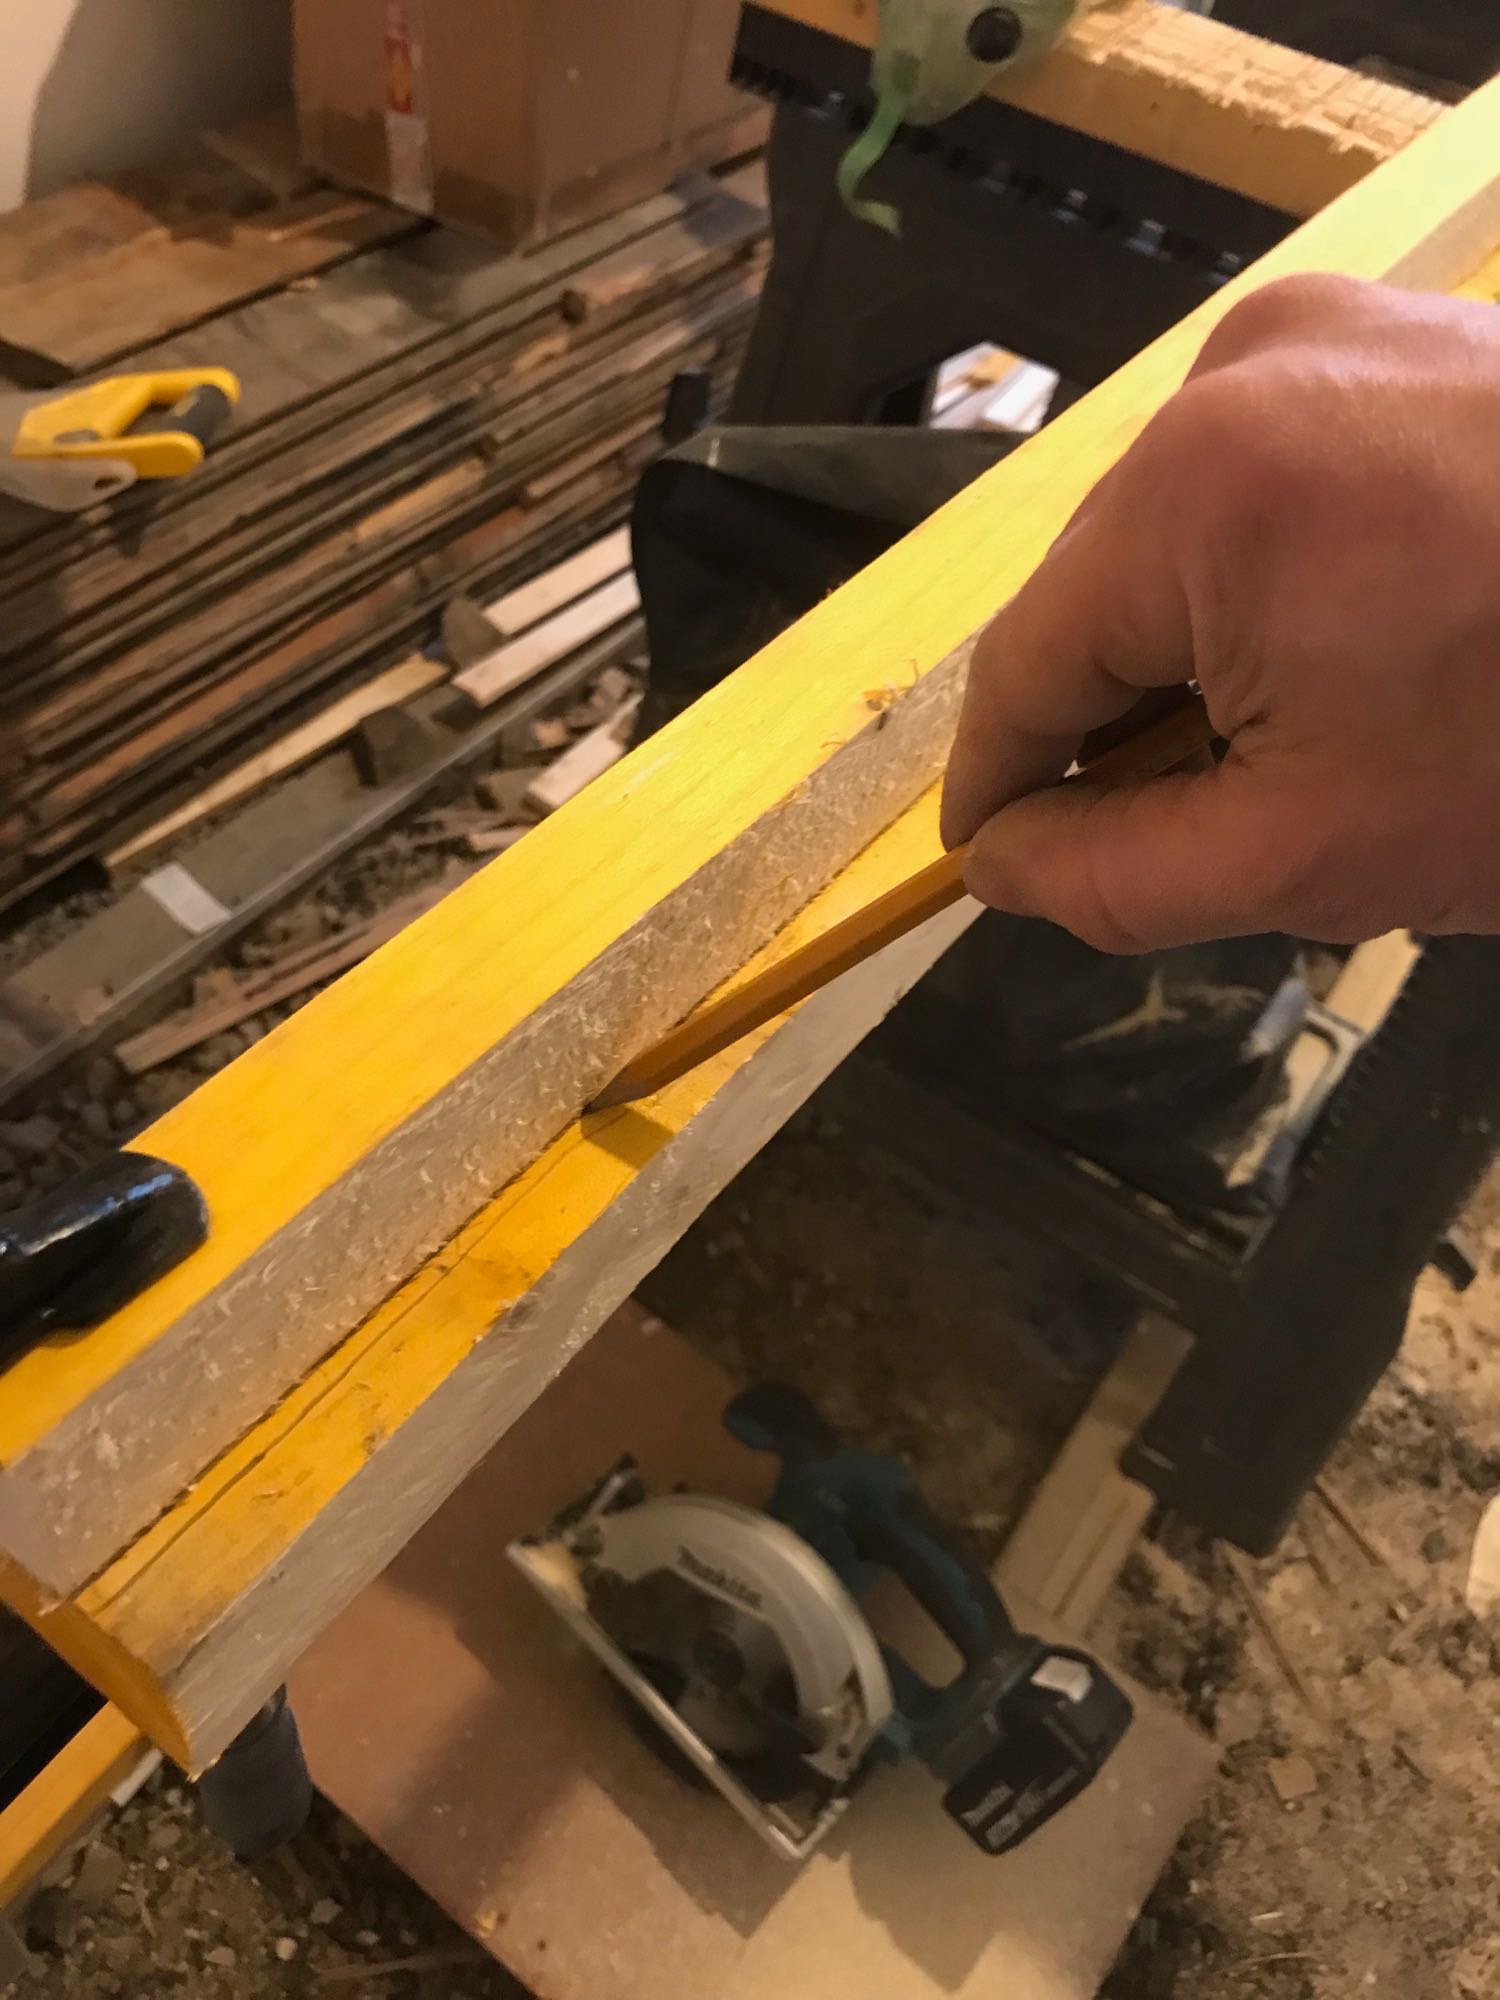
I cut two firrings from each piece of timber, which were then used side by side to make a 76mm wide wedge, which more or less matched the thickness of the joists. To get them the right size, I worked joist by joist, they were all different. I dug some of the deafening away from the side of a joist, then clamped the timber to its side, lining up the top of the timber with the string. Once I was happy, I drew a pencil line along where it met the joist, which then I firmed up once I’d removed it from the joist. One careful rip cut with the circular saw later, I had the first half of the firring to check against the string, and as I got further in to the job, against its neighbours which I’d already levelled, using the spirit level. If it was wrong, it tended to be too high, so I’d trim it down a little further until it was the right level.
By clamping the first half to the remaining bit of that timber, on the unused edge, I could draw the pencil line along that to get an exact match without faffing around clamping to the joist again. This was trickier at the thinnest parts but still possible and worth doing.
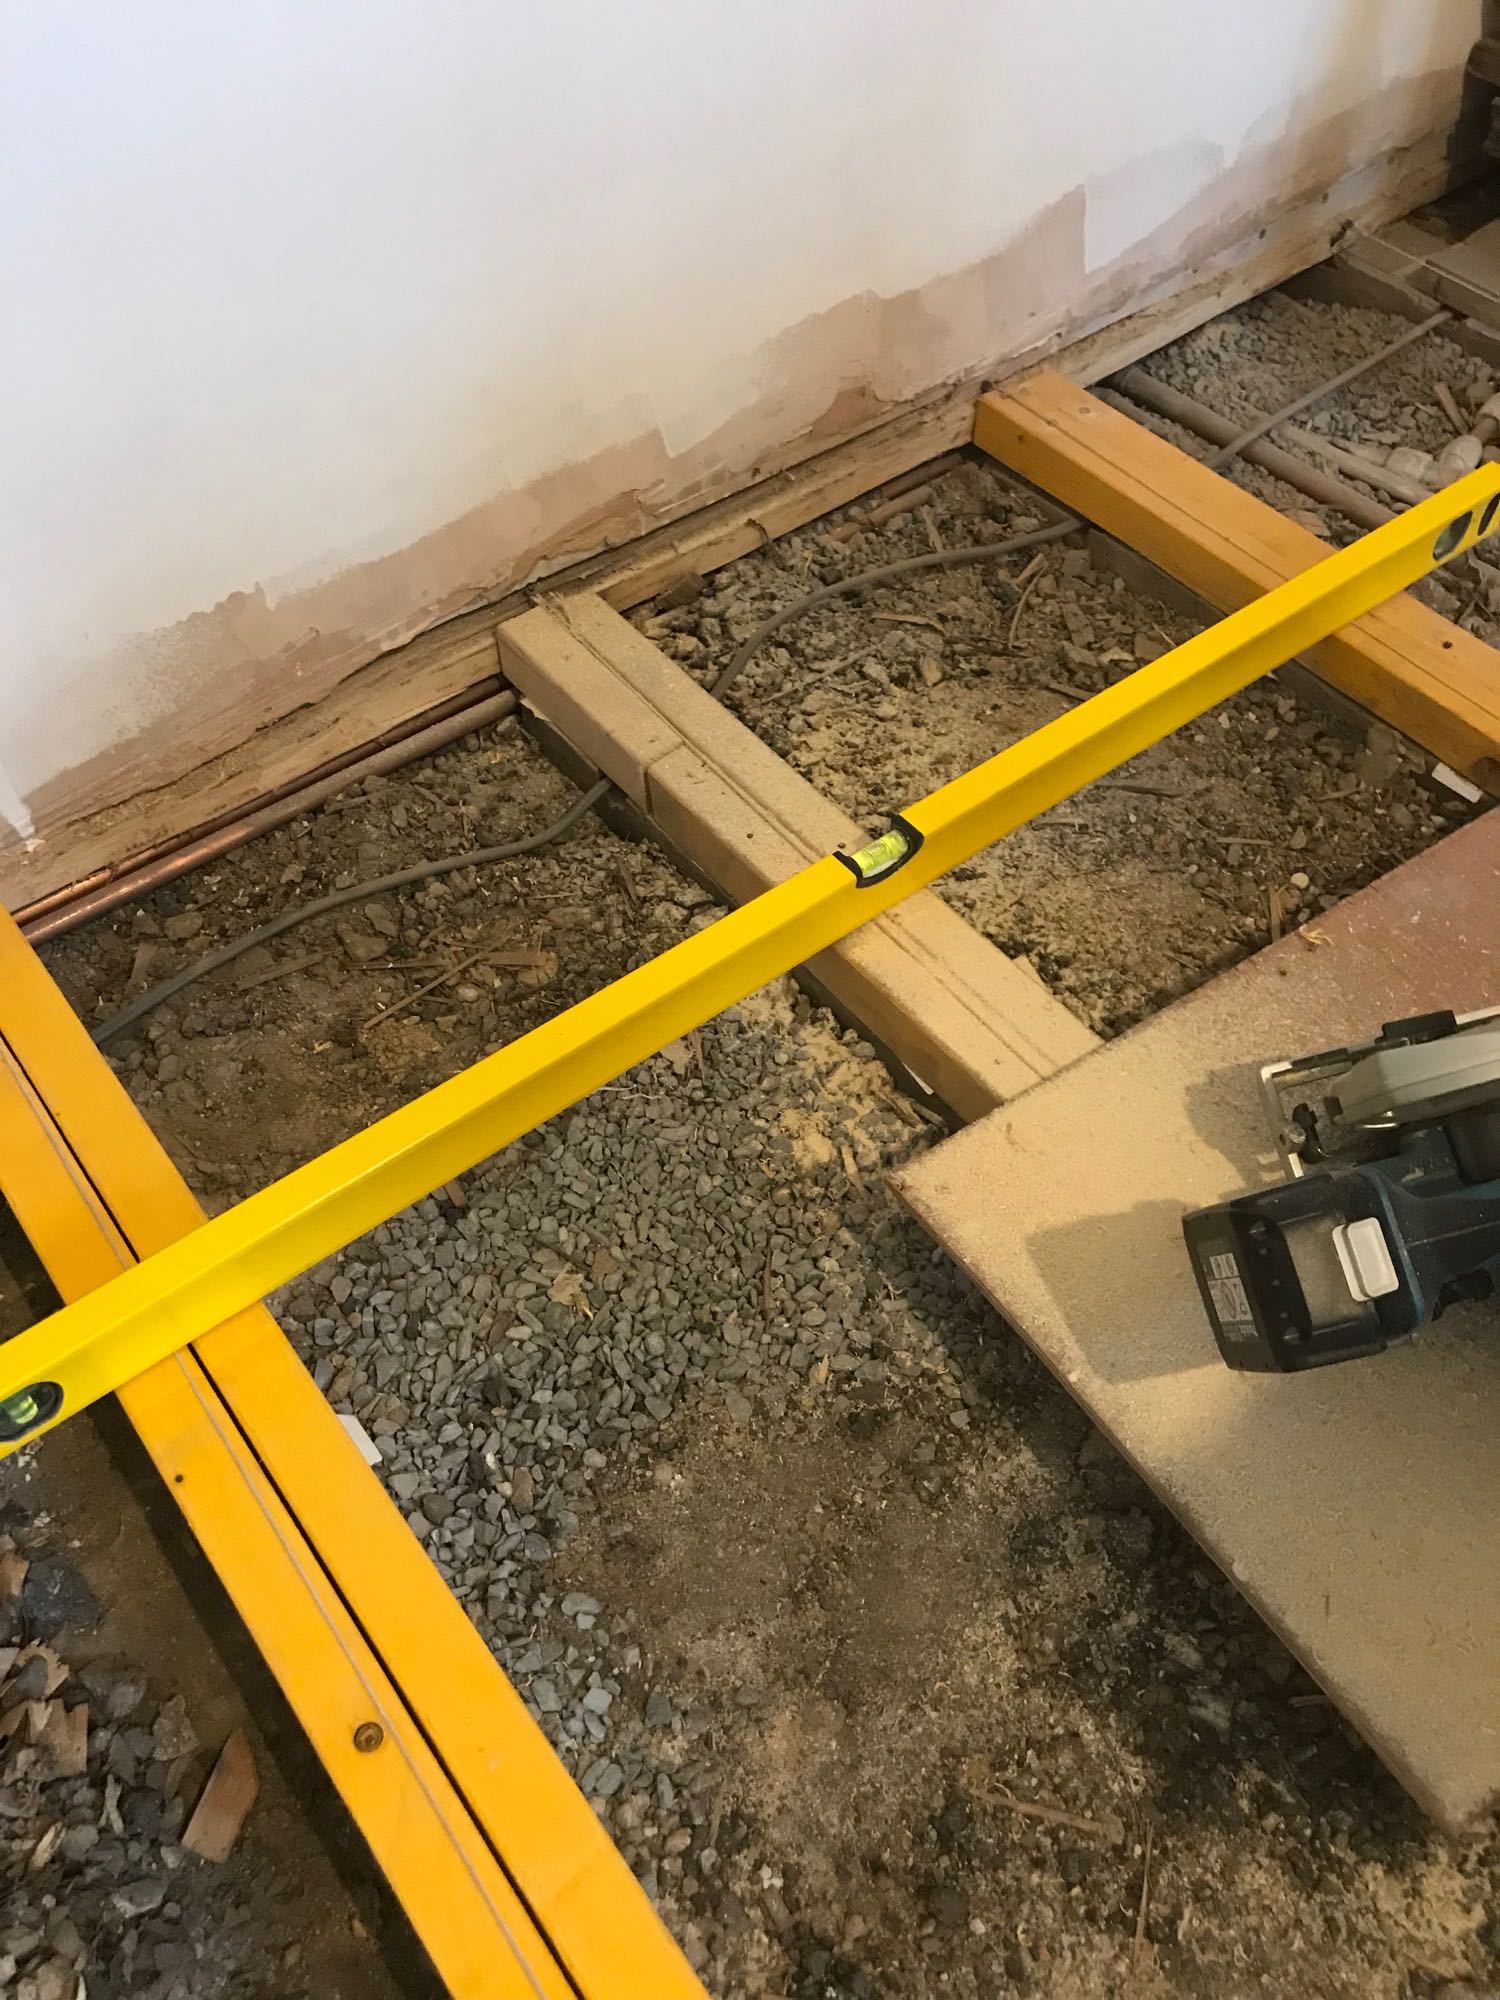
Once the second half was cut, I drilled pilot holes and screwed them together using 70mm partially threaded screws, which pull them together well. Then it was on to the joist, more pilot holes and screws in to the joists, and on to the next one.
I did the total of 7 joists, each about 4m long, over a day and a half at the weekend, and then a couple of evenings after work the next week. It’s quite a cheap job as long as you’re careful with cuts: I used about £50 worth of timber for the firrings. You go through circular saw batteries though- I only have 3Ah batteries for mine, and each would last only long enough to cut 3-4 firrings. I was able to cope with two of those batteries on rotation, but 3 would have been better.
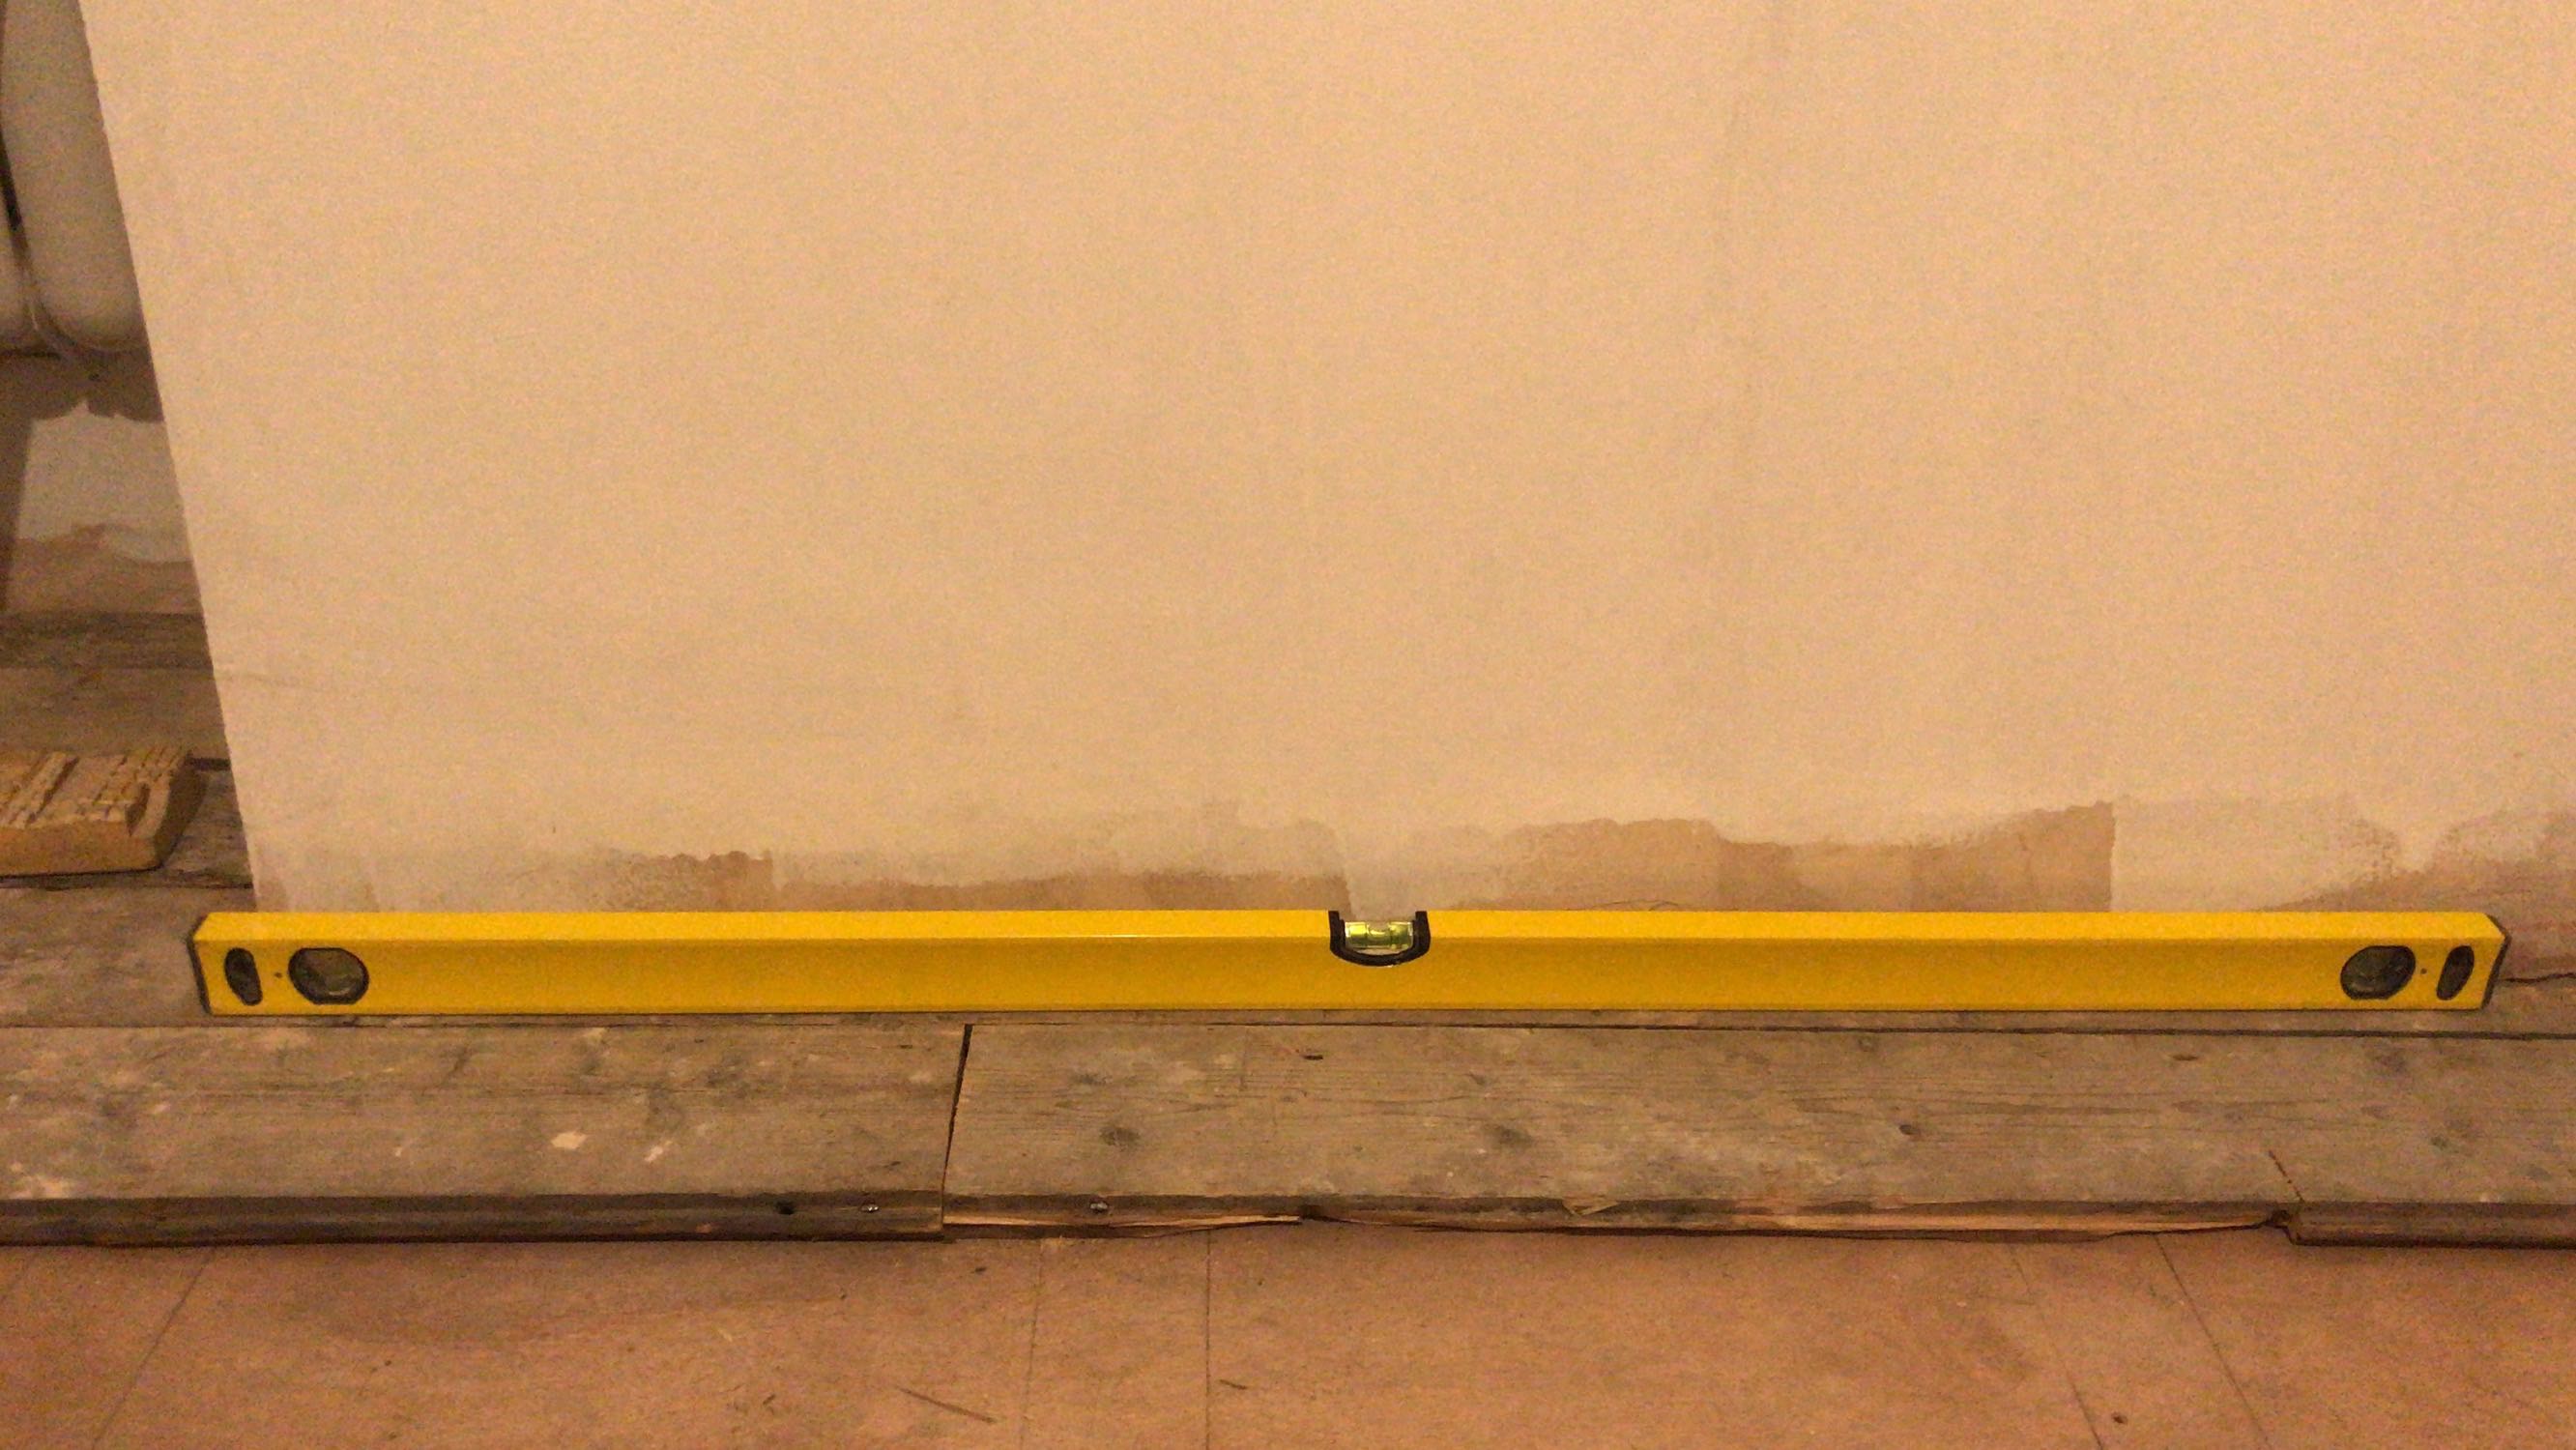
I also added 6mm plywood on top of the joists, because the tongues of a lot of the floorboards have been broken over the years, and this should help to keep the room a bit cleaner and less draughty. Seeing the bubble in the middle of the level when I put the plywood down was really satisfying, and then even more so when I started nailing the floorboards down too!
Hi mate. Read this Fixing our sagging floor with much interest.
I have a flat on bellevue and whole day window lounge needs done! Absolutely dreading it🤣
I’m using yours as a blueprint. I was going to sister joists but i like your idea more as i have to dig out less deafening!!
Wish me luck.
Thanks for informative post🙂
Good luck! It’s still a fiddly job but well worth it.
The advice I had (just on the phone) was that if you jump up and down on it as hard as you can, and it doesn’t seem too springy, it probably doesn’t need sistering. That was assuming there were no signs of recent movement.
I put down a layer of 6mm ply under the boards when I was done: not necessary of course, and raises the floor level a little… but it really makes the room a lot warmer, it’s easily the warmest room in our flat, so I’d recommend that too.